RPI Tvheadend with Emby integration
13 May 2023
In this article I will explore using a old Raspberry Pi to create a live TV video streamer, which will provide live TV streams across the network. I will achieve this by using Tvheadend software. This can then be used in conjunction with a media streamer such as Emby, Jellyfin or Plex to record or watch TV, which I will demonstrate by setting up Emby to utilise Tvheadend.
Hardware used
- Raspberry Pi 2 Model B
- Micro USB Power Supply
- MicroSDHC - MicroSD High Capacity
- Case - I cut a hole in the case myself for the antenna cable
- Raspberry Pi TV HAT
RPI Tvheadend setup
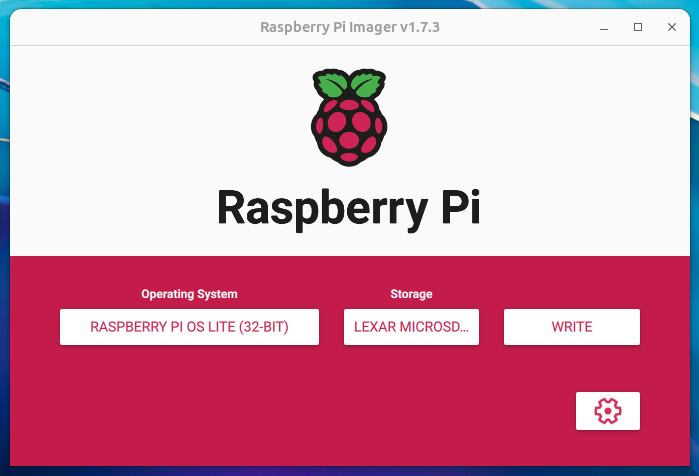
Start by flashing your microSD with Raspberry Pi OS Lite (32-bit), I like to use the Raspberry Pi Imager tool as it provides a list of operating systems without having to manually download.
I also configured some “Advanced options”, by using the Cog icon.
- Set hostname: tvheadend
- Enable SSH
- Set username and password
- Set locale settings
After flashing the MicroSD disconnect it and plug it in to the Raspberry Pi.
Boot the Raspberry Pi, then connect via SSH using the obtained IP address or host name.
ssh pi@tvheadend
Now we can start to configure the Raspberry Pi and install Tvheadend.
First start by ensuring your repositories and packages are updated by running the command below
sudo apt update && sudo apt full-upgrade -y
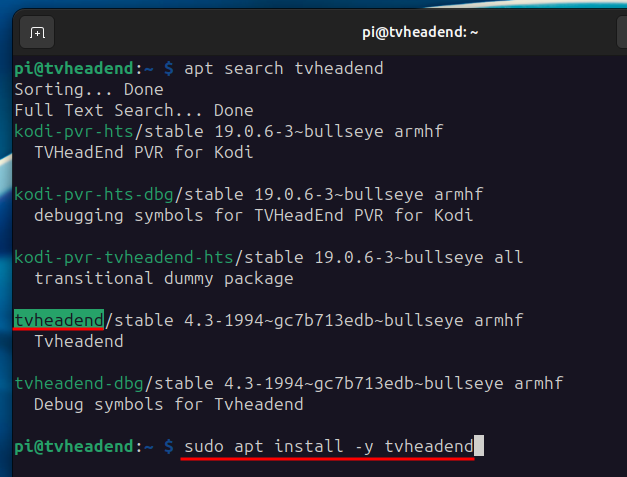
Now install Tvheadend by using apt to install the package
sudo apt install -y tvheadend
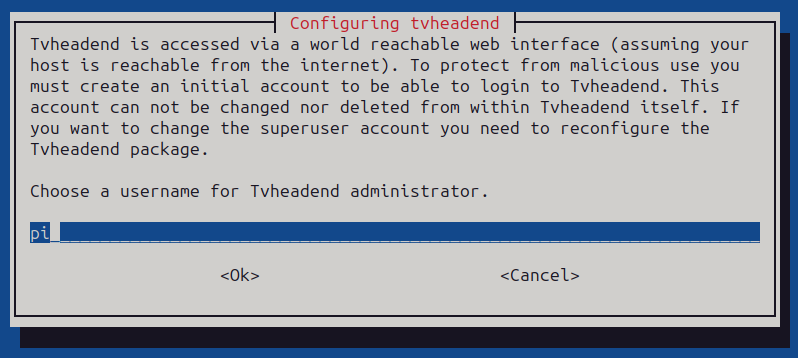
During installation you will be prompted for a username and password for the Tvheadend administrator
After the installation of Tvheadend, it can be accessed via HTTP either using IP or host name on port 9981.
http://tvheadend:9981
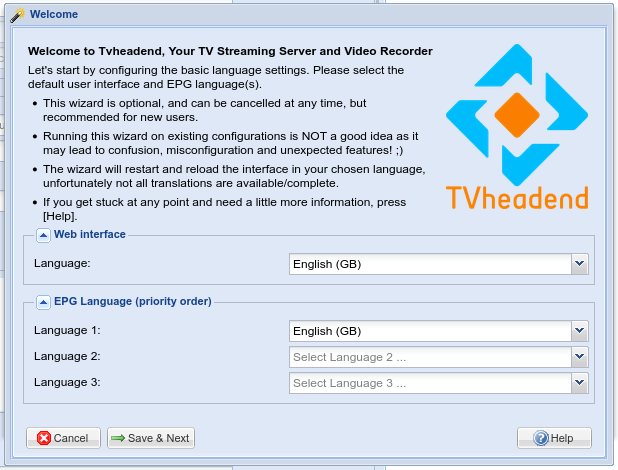
We’ll progress through the Welcome wizard
Set your languages
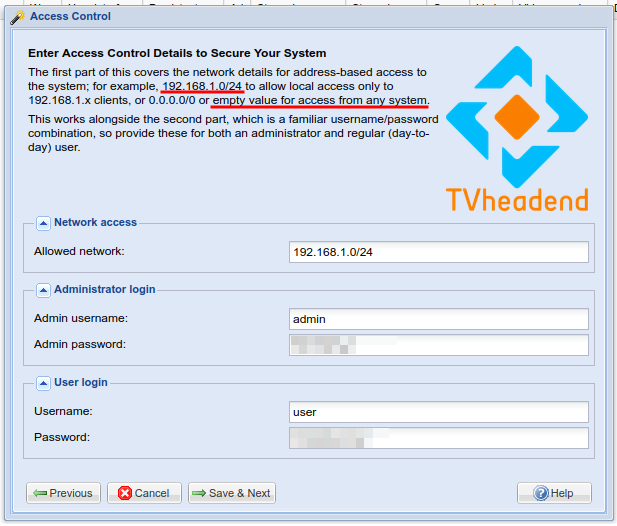
Set Access Control, here I will be allowing all of the 192.168.1.0 255.255.255.0 address space. I have set an admin and user account credential. You can bypass the login by using * in both the username and password fields, but this is not recommended.
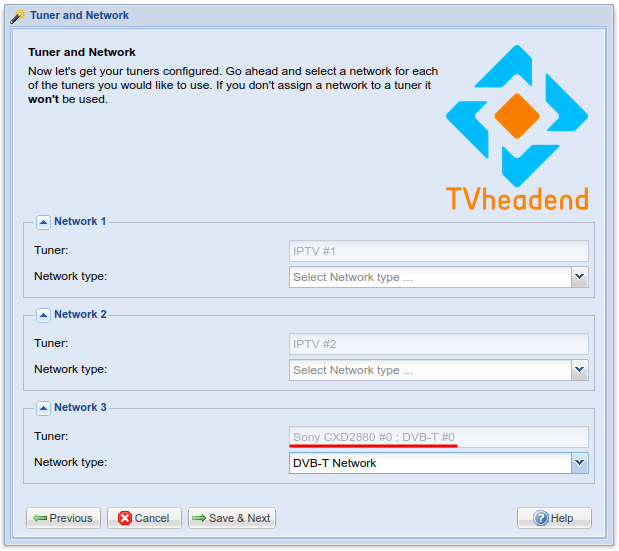
Configure the tuner, look for the Sony CXD2880, which is the RPI TV HAT and set the network type to “DVB-T Network”.
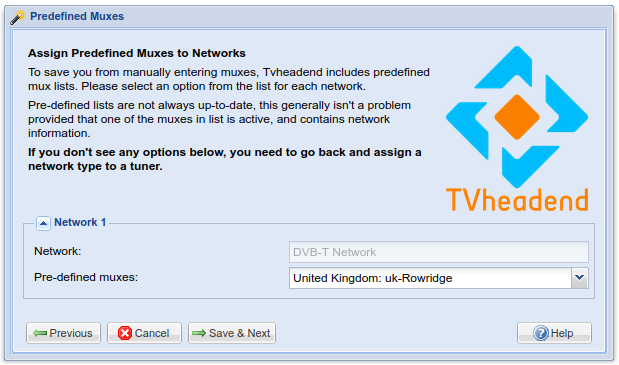
Use a predefined MUXes
“MUX is short for Multiplex, which is technology that allows a broadcaster to compress or ‘zip’ TV content so that several channels can be distributed using the same bandwidth that used to be required for a single analogue channel.” - encodedmedia
Pick the digital TV transmitter closest to you, I have selected “United Kingdom: uk-Rowridge”, you can find your closest by using various sites such as; Freeview transmitter information .
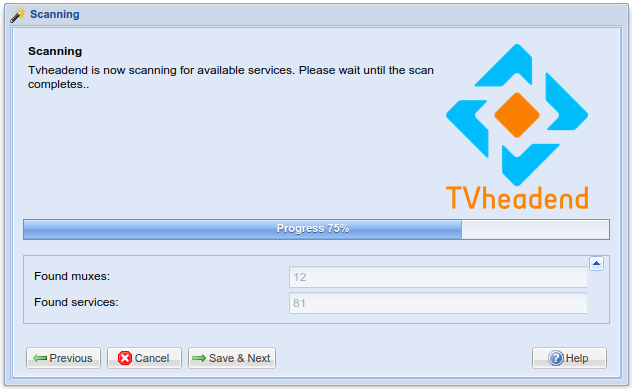
Let the scan complete, you should find muxes and services.
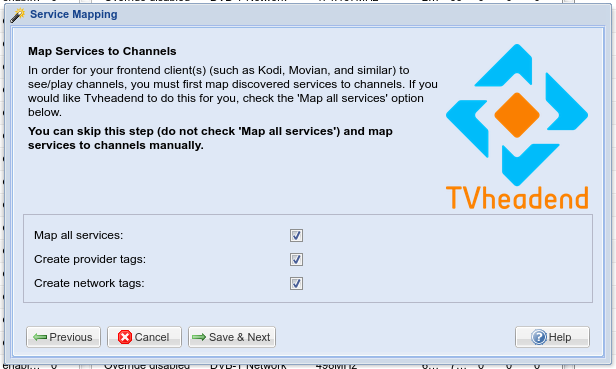
Service Mapping
We’ll check all three options to allow Tvheadend to map the discovered channels, and we’ll create provider and network tags as well.
This completes the Welcome wizard and at this point restart the Raspberry Pi.
sudo shutdown -r now
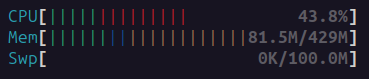
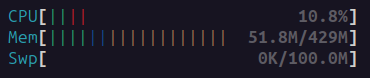
I thought I’d take a htop capture at this point to ensure the Raspberry Pi 2 Model B can handle the load, as shown by the screenshot below.
A few maintenance tasks, which you may be interested in.
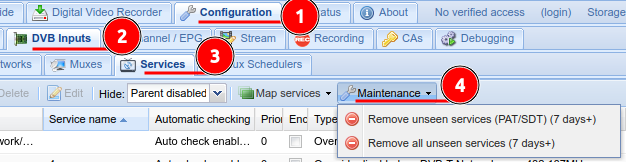
Force Scan - navigate to Configuration > DVB Inputs > Networks > Select your network and “Force Scan”.

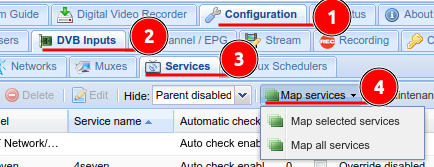
Map services - navigate to Configuration > DVB Inputs > Services and select “Map services”.
Remove unseen services - navigate to Configuration > DVB Inputs > Services and select “Maintenance”.
Emby Integration
Firstly the Live TV & DVR features in Emby require an active premiere subscription.
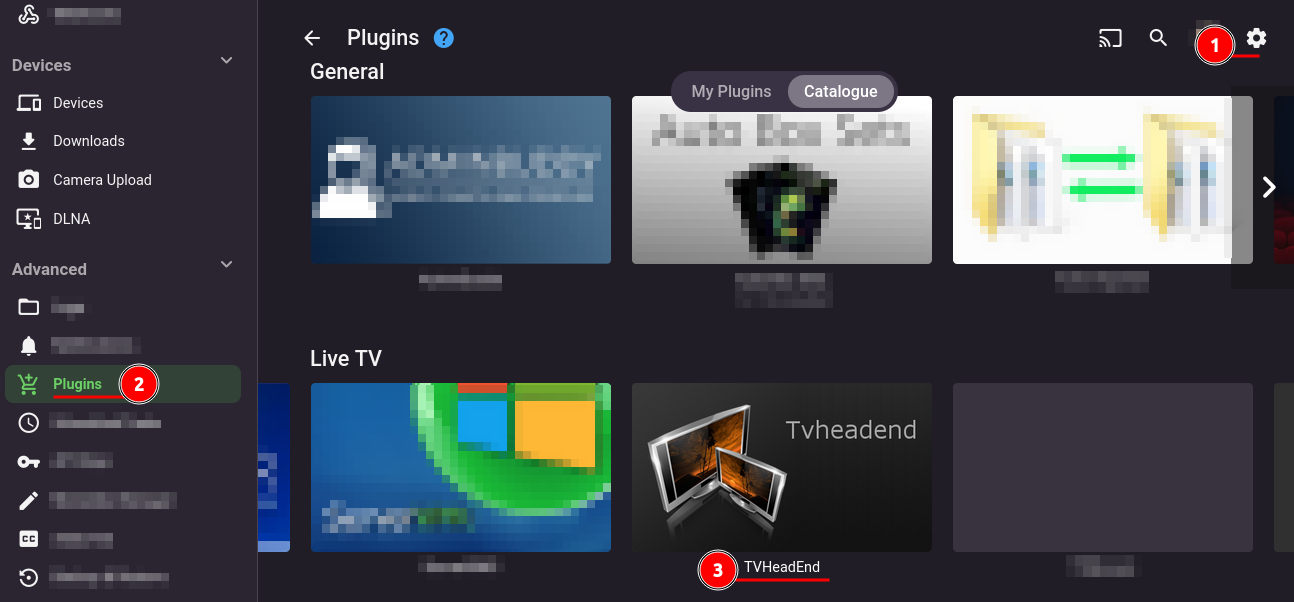
Install the TVHeadEnd plugin via the “Plugins Catalogue”.
Restart your Emby server to apply the changes.
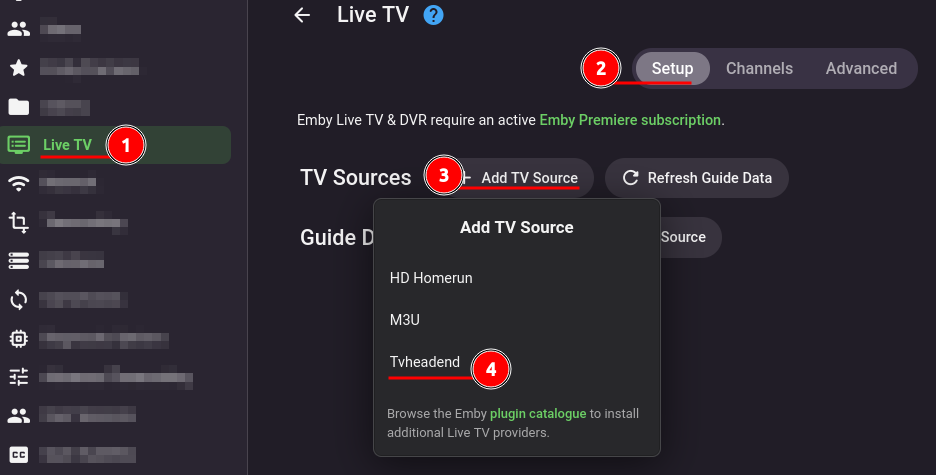
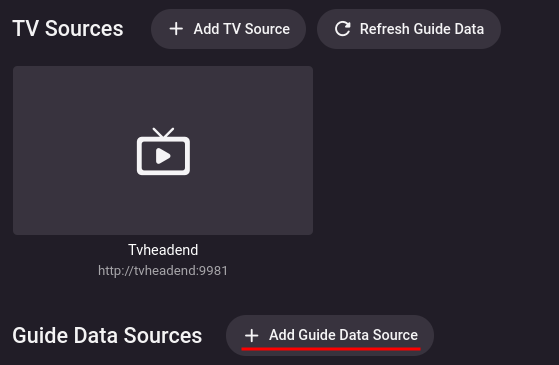
Now navigate to “Live TV” and click “Add TV Source”, Tvheadend should now be listed here.
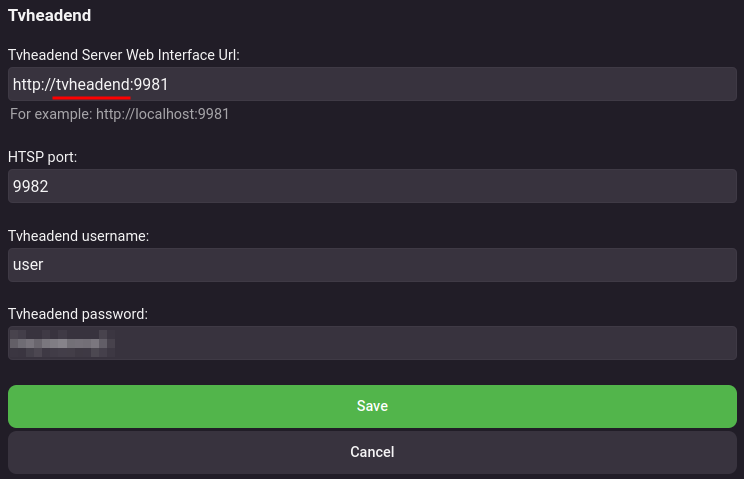
The next window will request the following information; server address, username and password.
Click “Save” to complete the setup.
You’ll be returned to the Live TV screen, but this time we’ll see our newly added Tvheadend server.
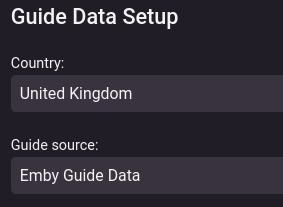
Continue by adding a guide data source.
I’ve configured my country and set the guide source to be “Emby Guide Data”.
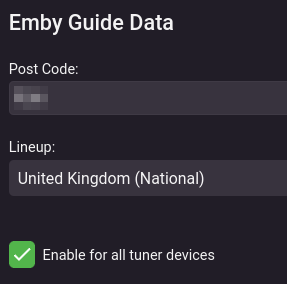
Lastly you’ll need to provide the first part of your postcode for example; SO41 or PO6. Then configure the “lineup”.
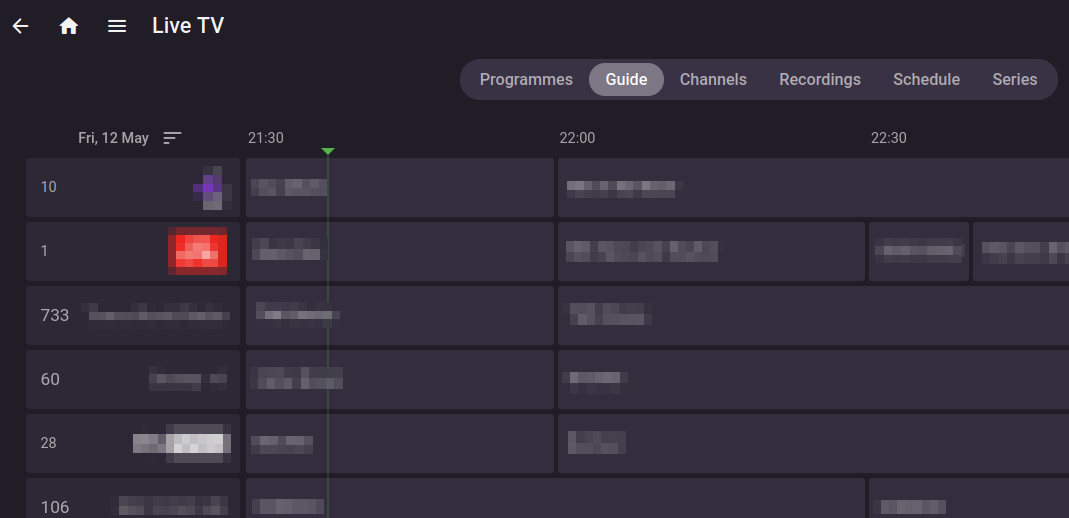
This completes the basic setup and integration, now Live TV will be available for you to enjoy.
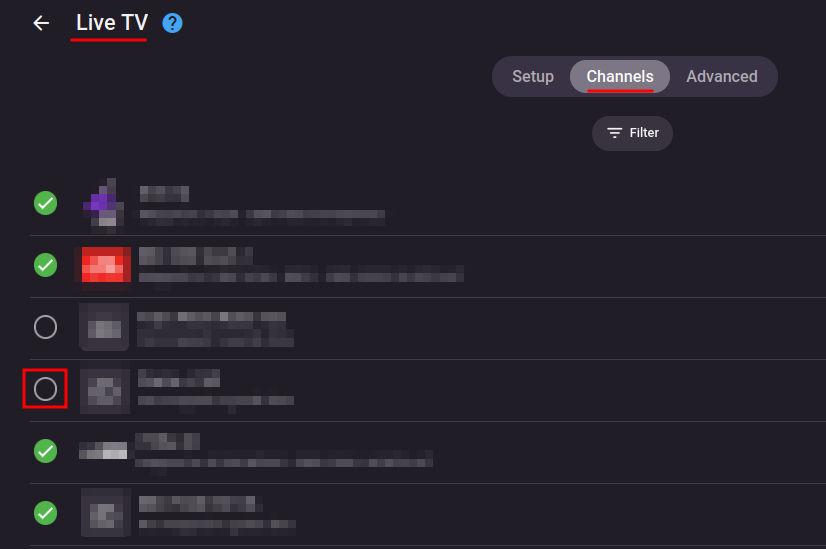
Some useful tips in Emby would be to cherry pick the channels you want to include or exclude via the “Channels” tab. This can be useful to trim what you see, simply check or unchecked the boxes where you see fit.
You can also select channels and see different guide data sources, add tags and set parental ratings.
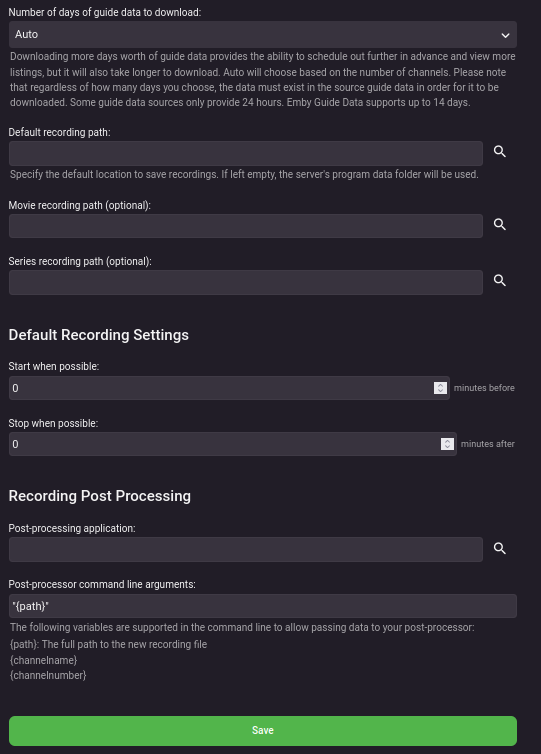
Under the advanced tab you can configure recording paths, recording settings and post processing.
While watching a stream the Raspberry Pi 2 Model B was handling the load quite well, with quick response times, as shown by the screenshot below.