RPI 4 Install Zabbix 6.2
29 Oct 2022
What is Zabbix
Zabbix is an extremely powerful enterprise-class open source and free of cost distributed monitoring solution capable of monitoring a network and the health and integrity of servers, virtual machines, applications, services, databases, websites, the cloud and more.
Zabbix natively, fully supports VMware and IoT devices with MQTT and Modbus. Able to integrate with Active Directory or OpenLDAP with SAML support for modern authentication.
Zabbix can remediate problems with trigger-able commands, scripts (JavaScript based) and actions, perform testing such as web scenarios and report upon the results.
Zabbix can be highly available and capable of distributed monitoring with use of Proxies.
Zabbix can automatically add devices, create items, triggers and graphs using Low-level discovery (LLD), Zabbix also gathers trend data each hour.
The benefit of open-source is a huge community that is actively working together, this is shown with Zabbix Share where community templates are hosted and can be easily added to your own environment. Another benefit is that open-source projects tend to play nicely with other great projects, such as Grafana.
Prepare the Raspberry Pi
Download and install the RPI Imager tool
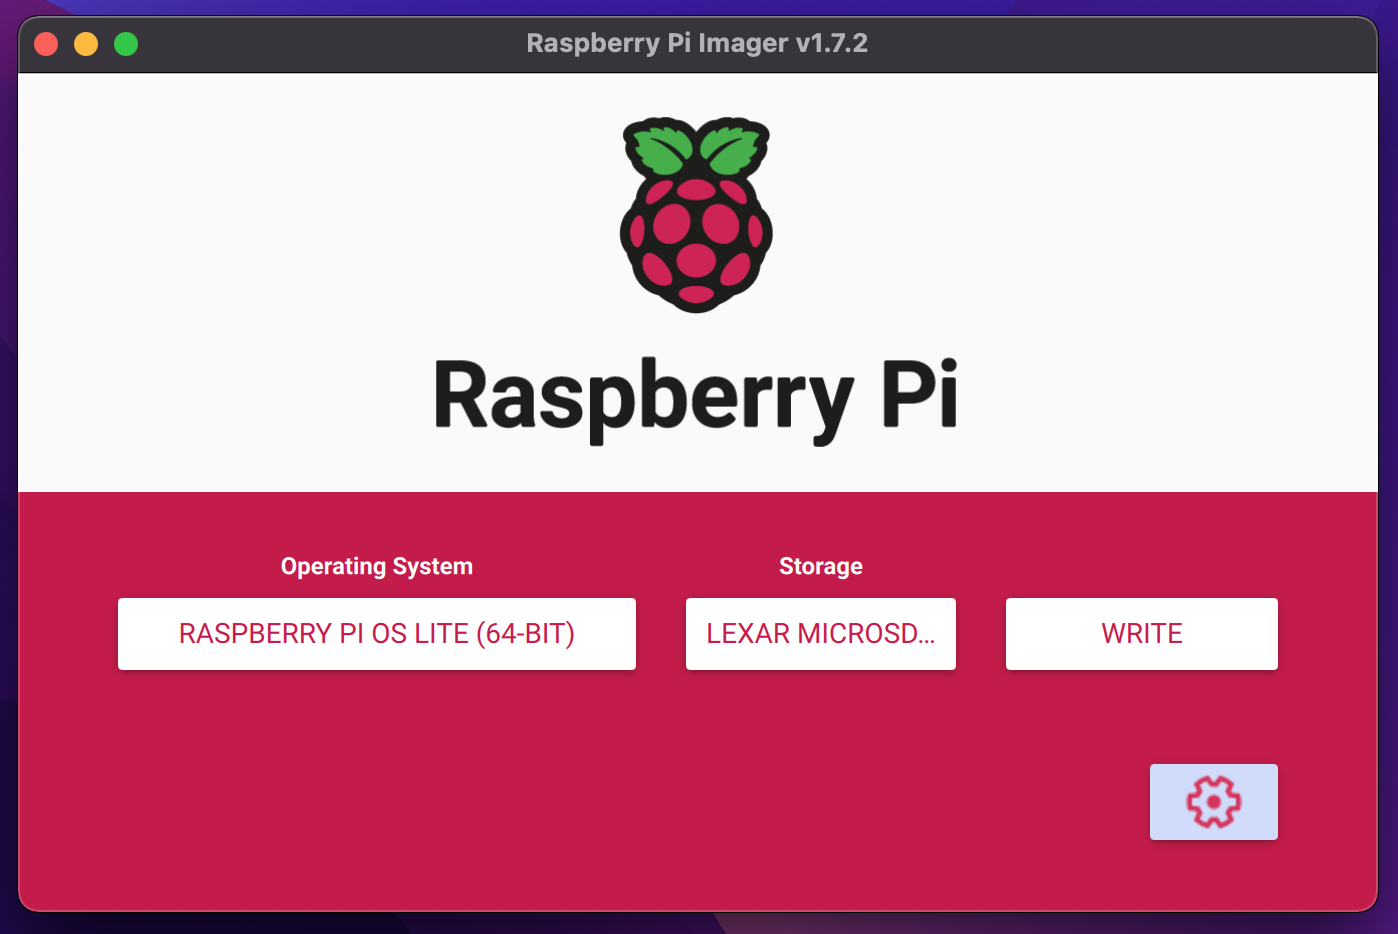
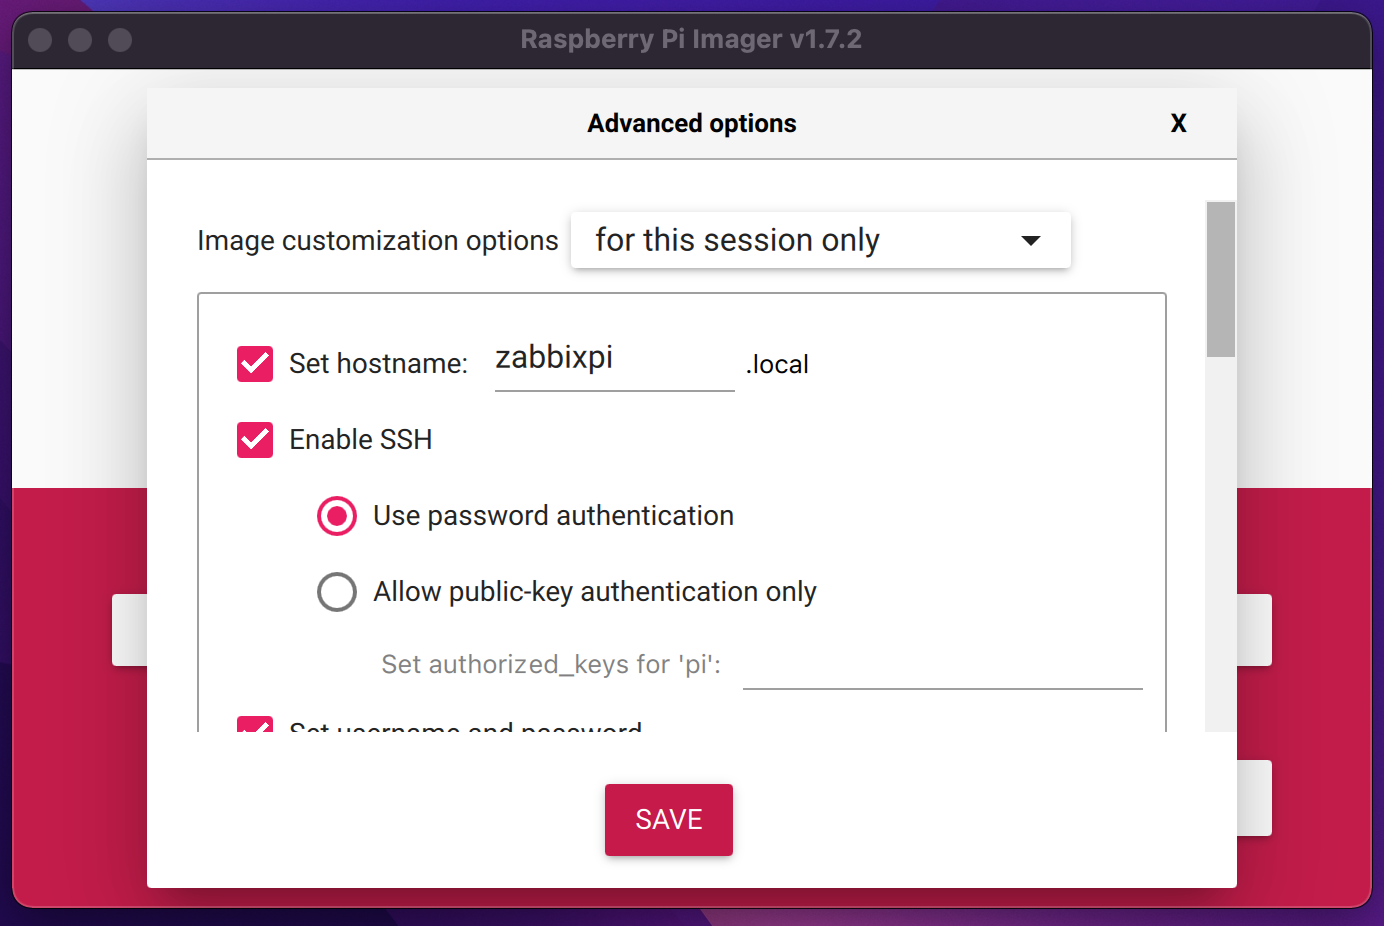
Flash the Raspberry Pi OS Lite (64-bit) image onto a MicroSD card, with the additional advanced settings:
- Set hostname
- Enable SSH
- Set a password
- Set region settings
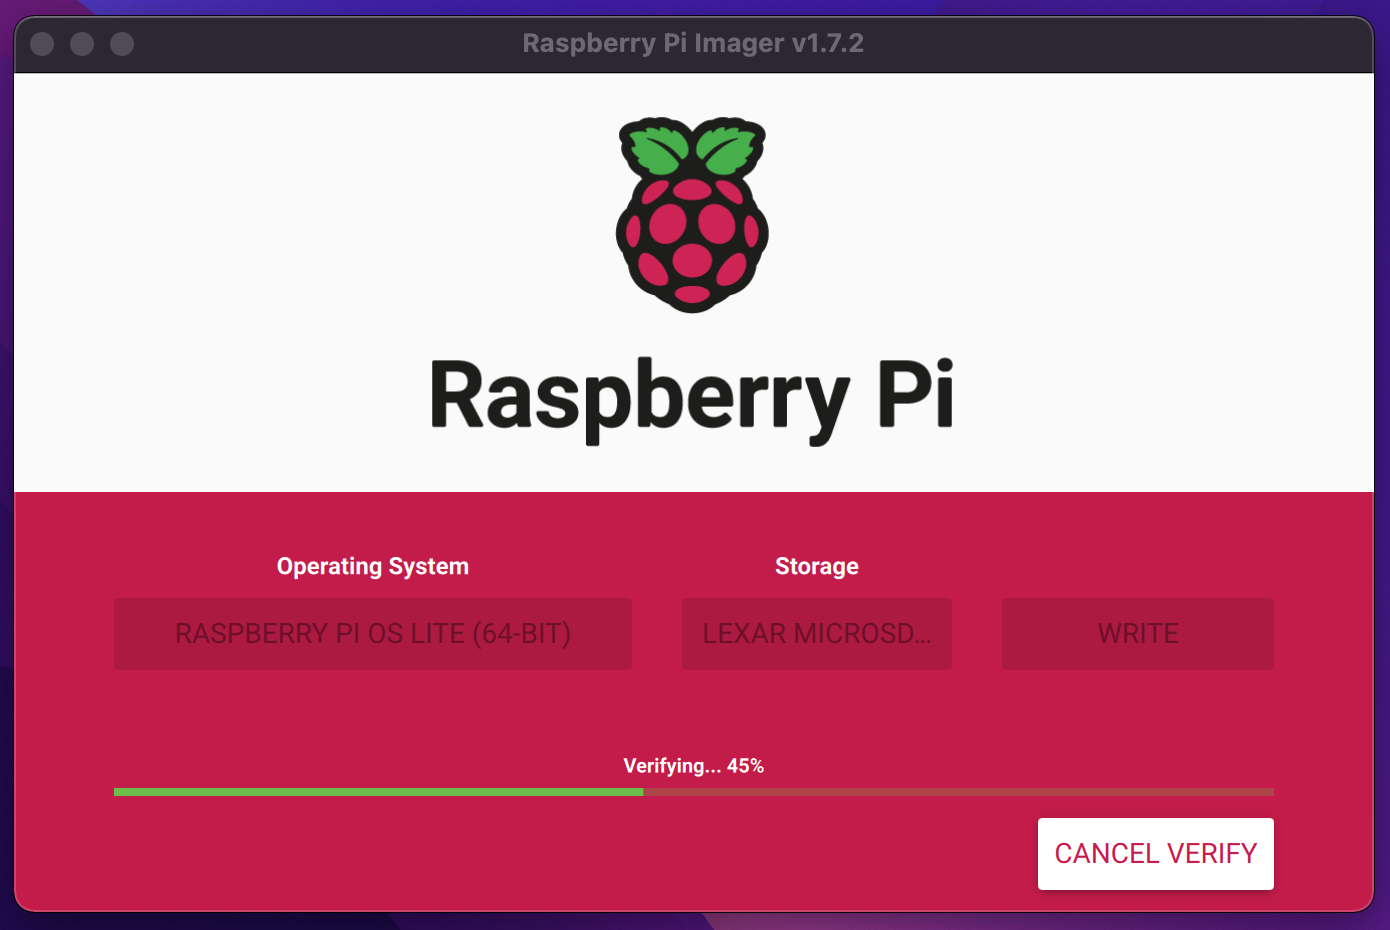
Eject, Insert and Power-On the Raspberry Pi
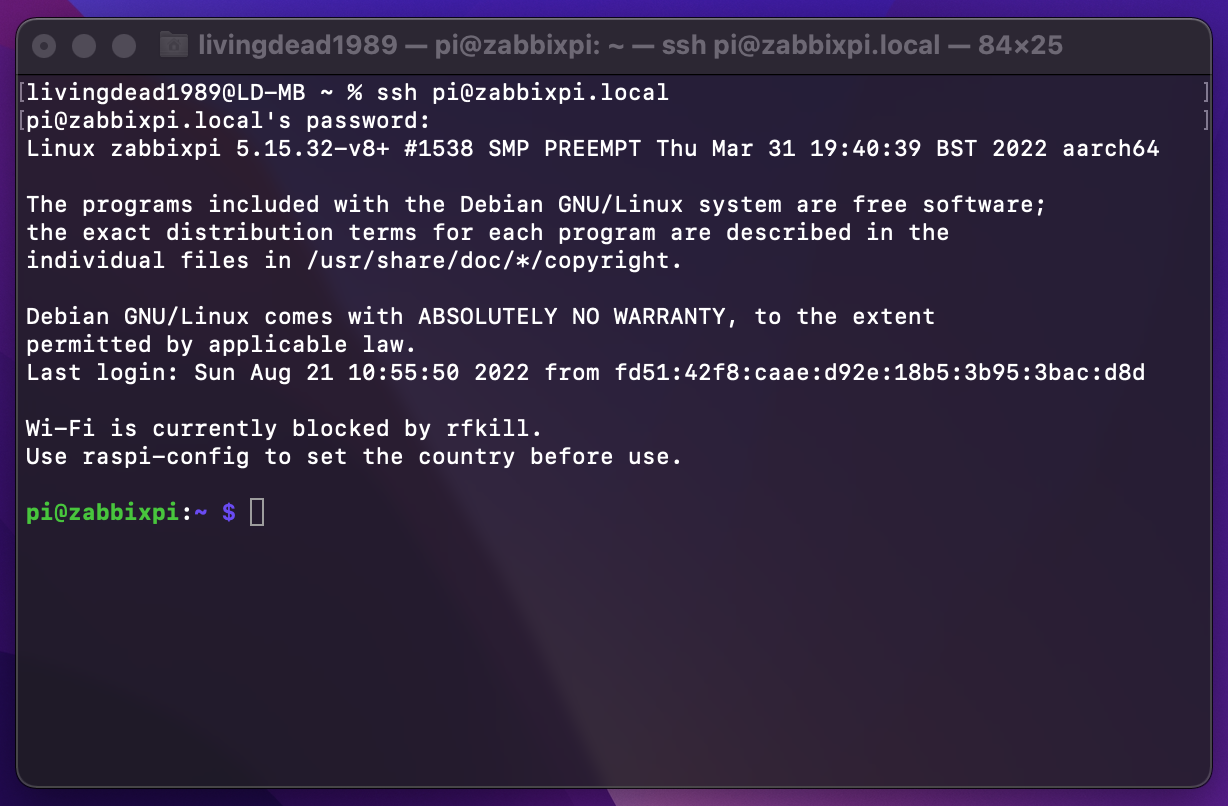
Establish an SSH connection using the hostname or IP address
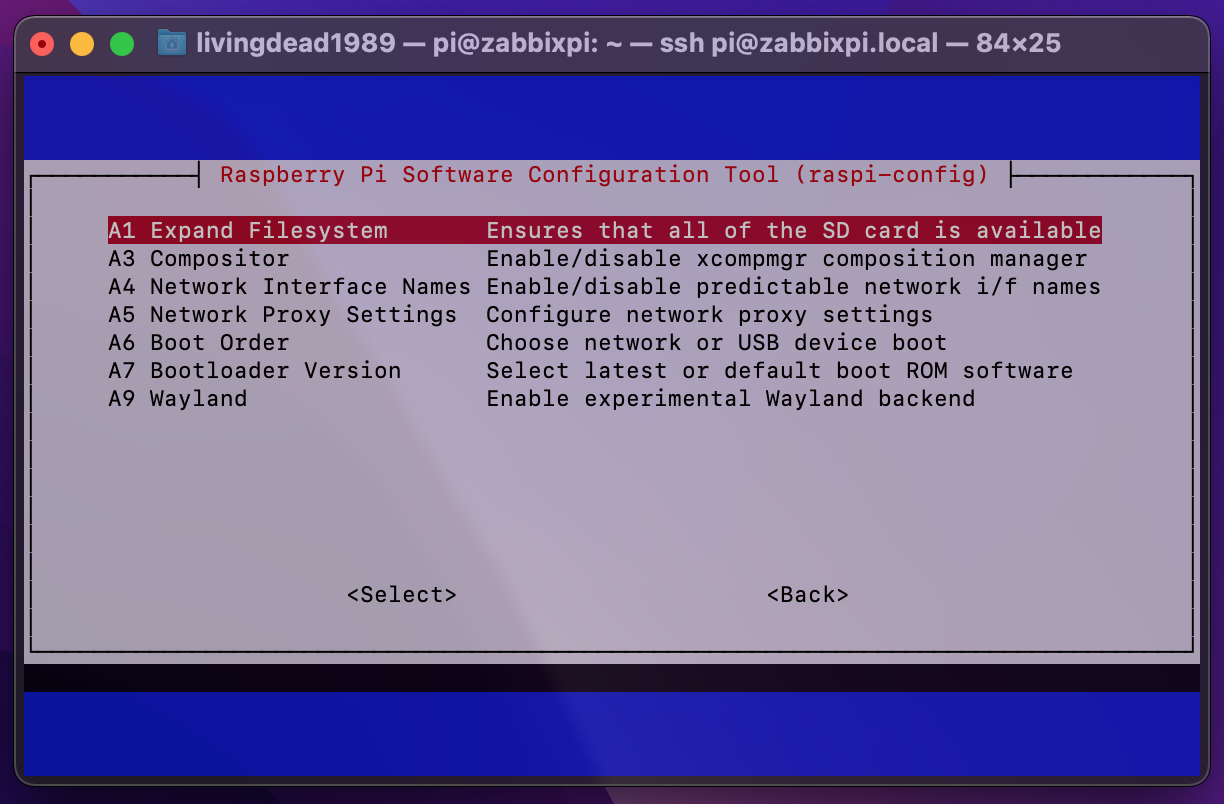
Expand the filesystem by using the Raspi-Config tool
sudo raspi-config
Select “Advanced Options” and “Expand Filesystem”, restart the Pi to apply changes.
Update and Upgrade the system
sudo apt update && sudo apt upgrade -y
Zabbix Installation
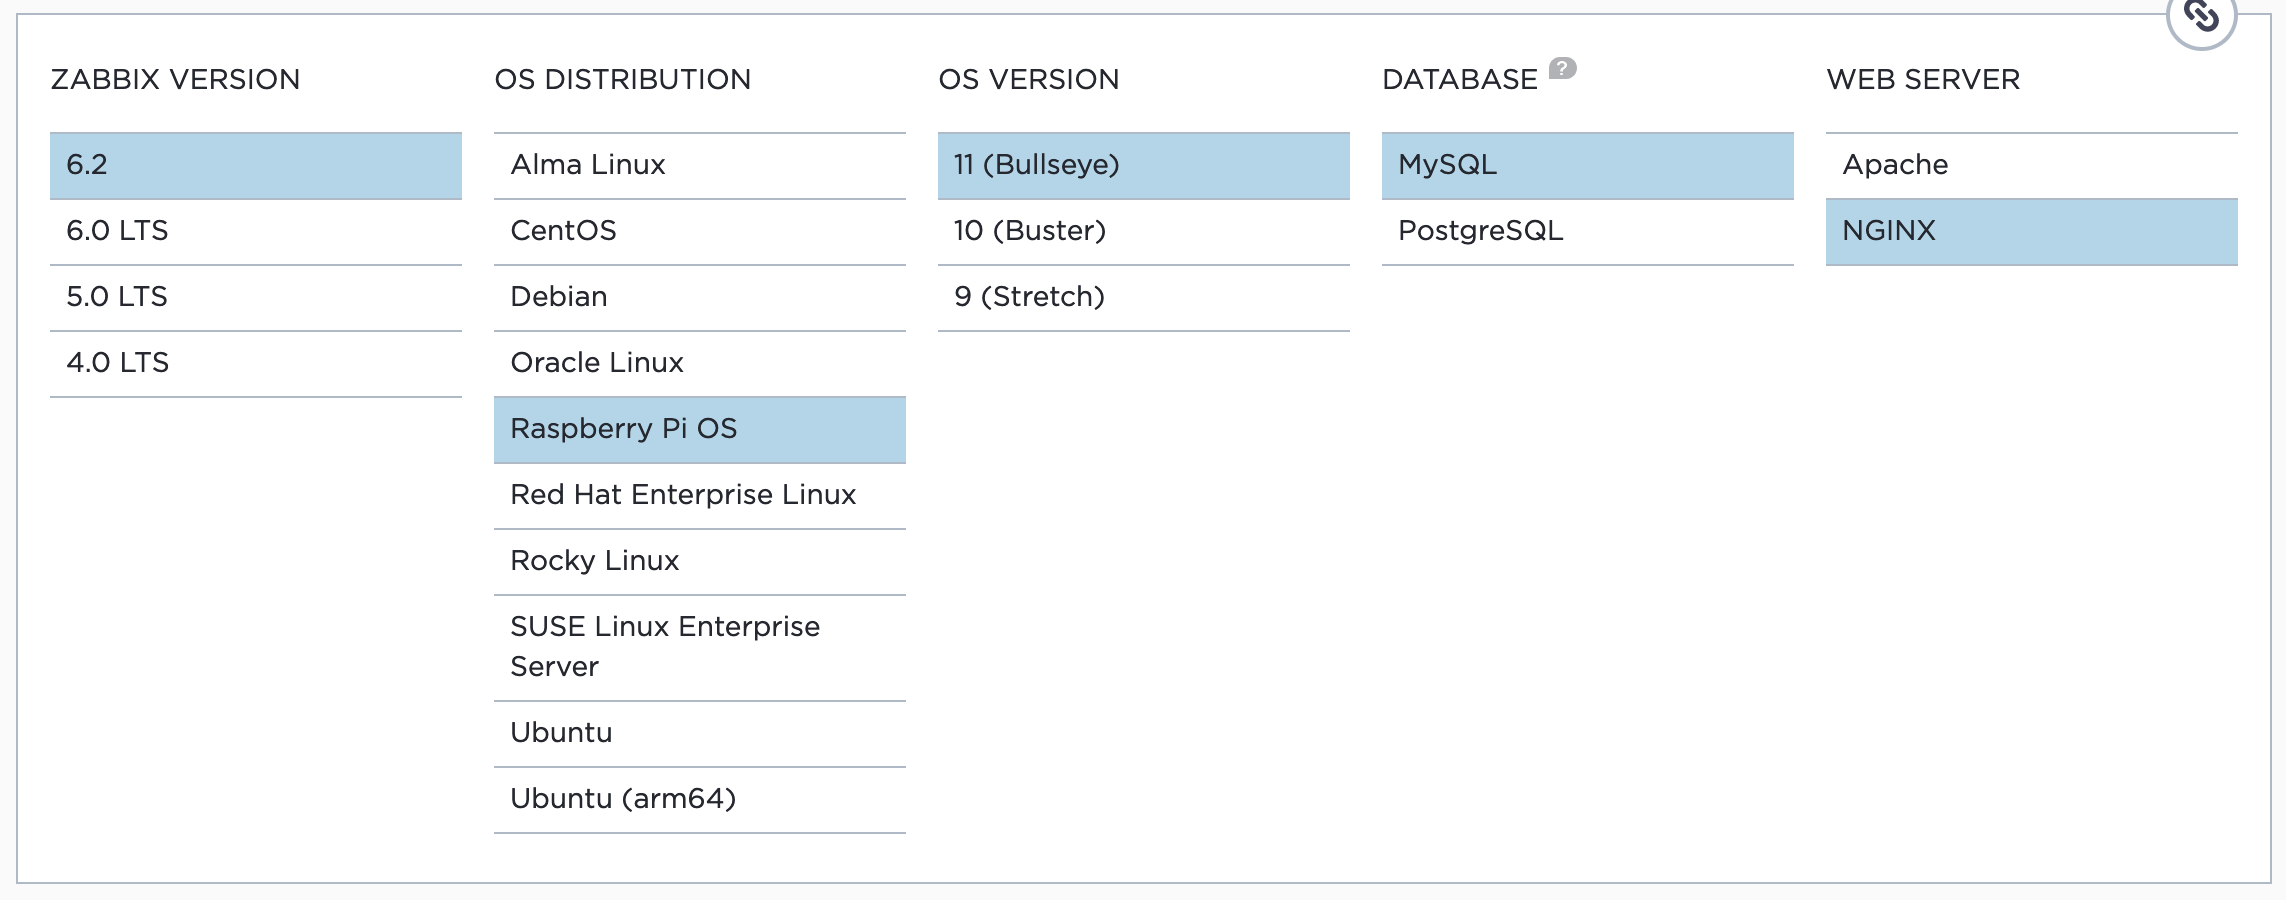
Navigate to Zabbix’s website and set your perferred configuration, this article will use the following:
- Zabbix Version: 6.2
- OS Distribution: Raspberry Pi OS
- OS Version: 11 (Bullseye)
- Database: MySQL
- Web Server: NGINX
Database Choice
The available choices are MySQL or PostgreSQL.
Advantages of MySQL:
- Less CPU consumption
- Easier to administer and tweak
- Default settings often yield better performance over PostgreSQL
Advantages of PostgreSQL:
- Operates well with complex, high-volume data environments
- Hot backup and Point in Time Restore options
Webserver Choice
The choices are Apache or NGINX.
Apache:
- Process driven
- New thread for each request
- Allows for additional configuration on a per-directory basis
NGINX:
- Event driven
- Multiple requests within one thread
- Faster a serving static content
I will be using MySQL with Nginx. Nginx will be installed along with Zabbix.
Setup the MySQL Database
Install
sudo apt install -y default-mysql-server
First start by running the secure installation tool and stepping through the wizard
sudo mysql_secure_installation
- No password configured at this point, press: Enter
- Switch to unix_socket authentication: Yes
- Change root password: Yes, enter new password.
- Remove anonymous users: Yes
- Disallow root login remotely: Yes
- Remove test database and access to it: Yes
- Reload privilege tables now: Yes
Create a database for zabbix to use
mysql -u root -p
CREATE DATABASE zabbix CHARACTER SET utf8mb4 COLLATE utf8mb4_bin;

CREATE USER zabbix@localhost identified BY 'P@55word!';

GRANT ALL PRIVILEGES ON zabbix.* TO zabbix@localhost;

SET GLOBAL log_bin_trust_function_creators = 1;

quit;
Import the Zabbix schema and initial data, the last ‘zabbix’ is the database name, not the password.
sudo zcat /usr/share/doc/zabbix-sql-scripts/mysql/server.sql.gz | mysql -u zabbix -p zabbix
Disable log_bin_trust_function_creators option
mysql -u root -p
SET GLOBAL log_bin_trust_function_creators = 0;

quit;
Install Zabbix using the repository
Add the Zabbix repository
wget https://repo.zabbix.com/zabbix/6.2/raspbian/pool/main/z/zabbix-release/zabbix-release_6.2-1+debian11_all.deb

sudo dpkg -i zabbix-release_6.2-1+debian11_all.deb

rm zabbix-release_6.2-1+debian11_all.deb

sudo apt update
Install Zabbix server, frontend and agent
sudo apt install -y \
zabbix-server-mysql \
zabbix-frontend-php \
zabbix-nginx-conf \
zabbix-sql-scripts \
zabbix-agent
Configure MySQL
Set the database information for Zabbix to use by editing the “zabbix_server.conf” file.
sudo nano /etc/zabbix/zabbix_server.conf
Find DBPassword within the configuration file and uncomment it, then add your database password.
Use Nano’s search feature by pressing ctrl+w .
DBPassword=P@55word!
If you are using a different database name or username, then you’ll also need to change the values below.
DBName=zabbix
DBUser=zabbix
Save (ctrl+o) and exit (ctrl + x).
Configure NGINX
Now edit the “nginx.conf” file.
sudo nano /etc/zabbix/nginx.conf
Uncomment and configure “listen” and “server_name” directives.
listen 8080;
server_name zabbixpi.local;
Save (ctrl+o) and exit (ctrl + x).
Cleanup
Apache may be installed by default, this will now be removed.
sudo apt remove -y apache2 && sudo apt autoremove -y
Remove the default Nginix site
sudo rm /etc/nginx/sites-enabled/default
Restart the Nginx service
sudo systemctl restart nginx
Start Zabbix
Enable all the services to start at startup.
sudo systemctl enable zabbix-server zabbix-agent nginx php7.4-fpm

sudo systemctl restart zabbix-server zabbix-agent nginx php7.4-fpm
Restart the Raspberry Pi, once its restarted you’ll no longer need the SSH connection.
sudo shutdown -r now
Complete the installation using the WebGUI
Visit the Zabbix web interface using the default port of “8080”.
http://zabbixpi.local:8080/
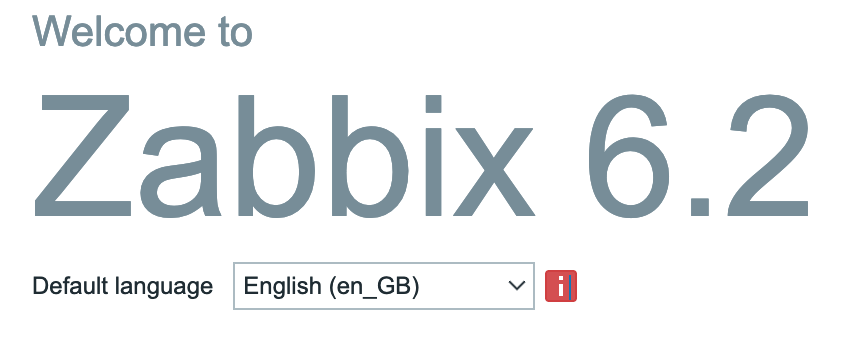
Now step through the wizard until completion
I have changed the default language to English (en_GB).
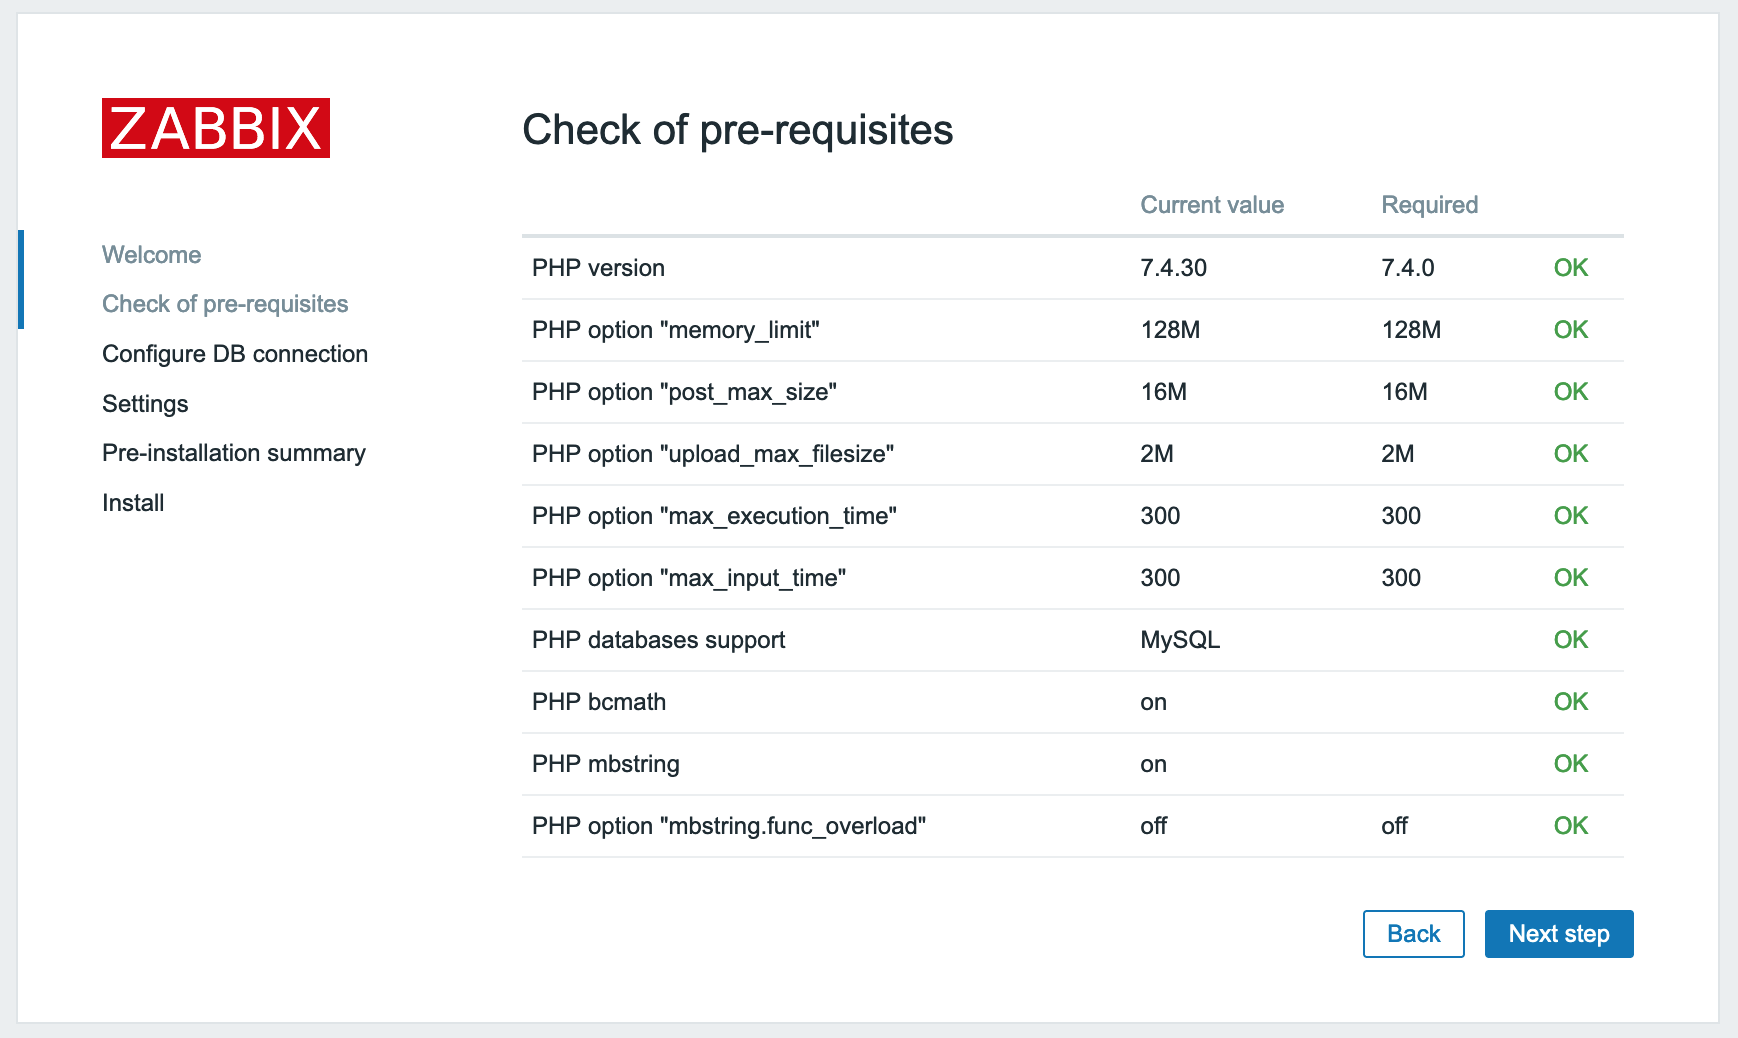
All of the pre-requisites should be marked as “OK”, if they are not go back and review before continuing.
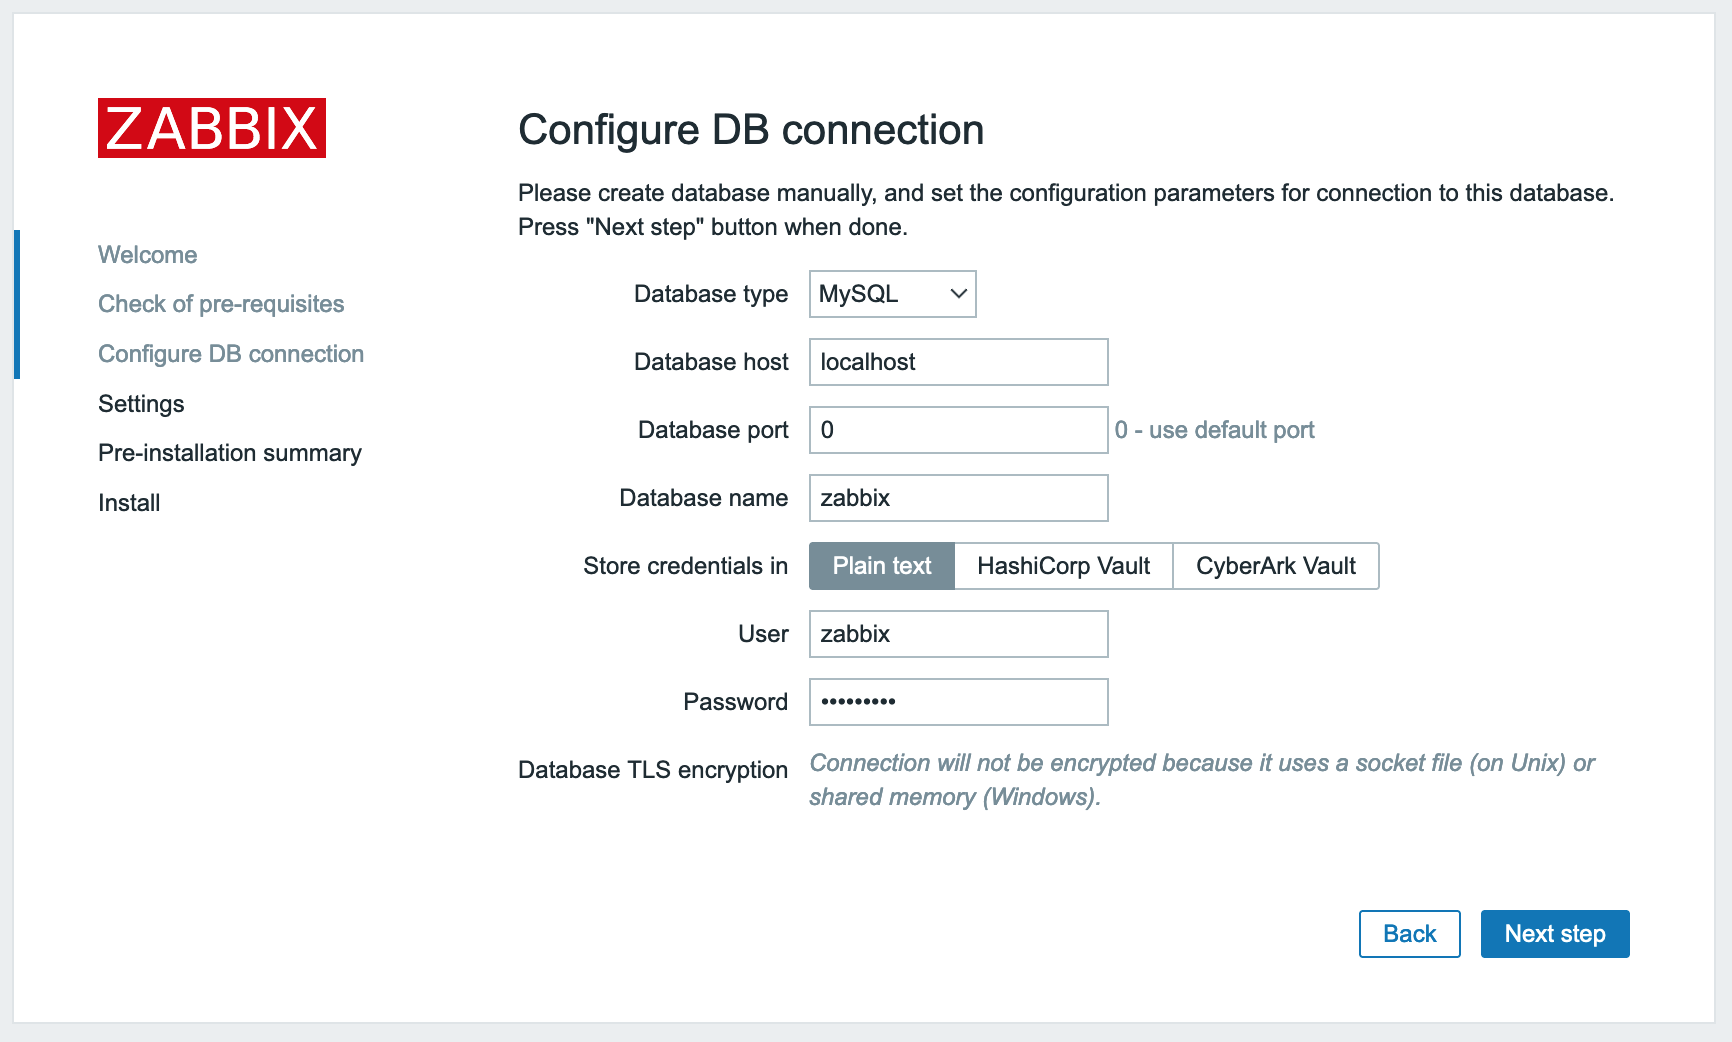
When configuring the DB connection, the default values are fine, just add your MySQL user password and update the username or database name if you changed from the default value.
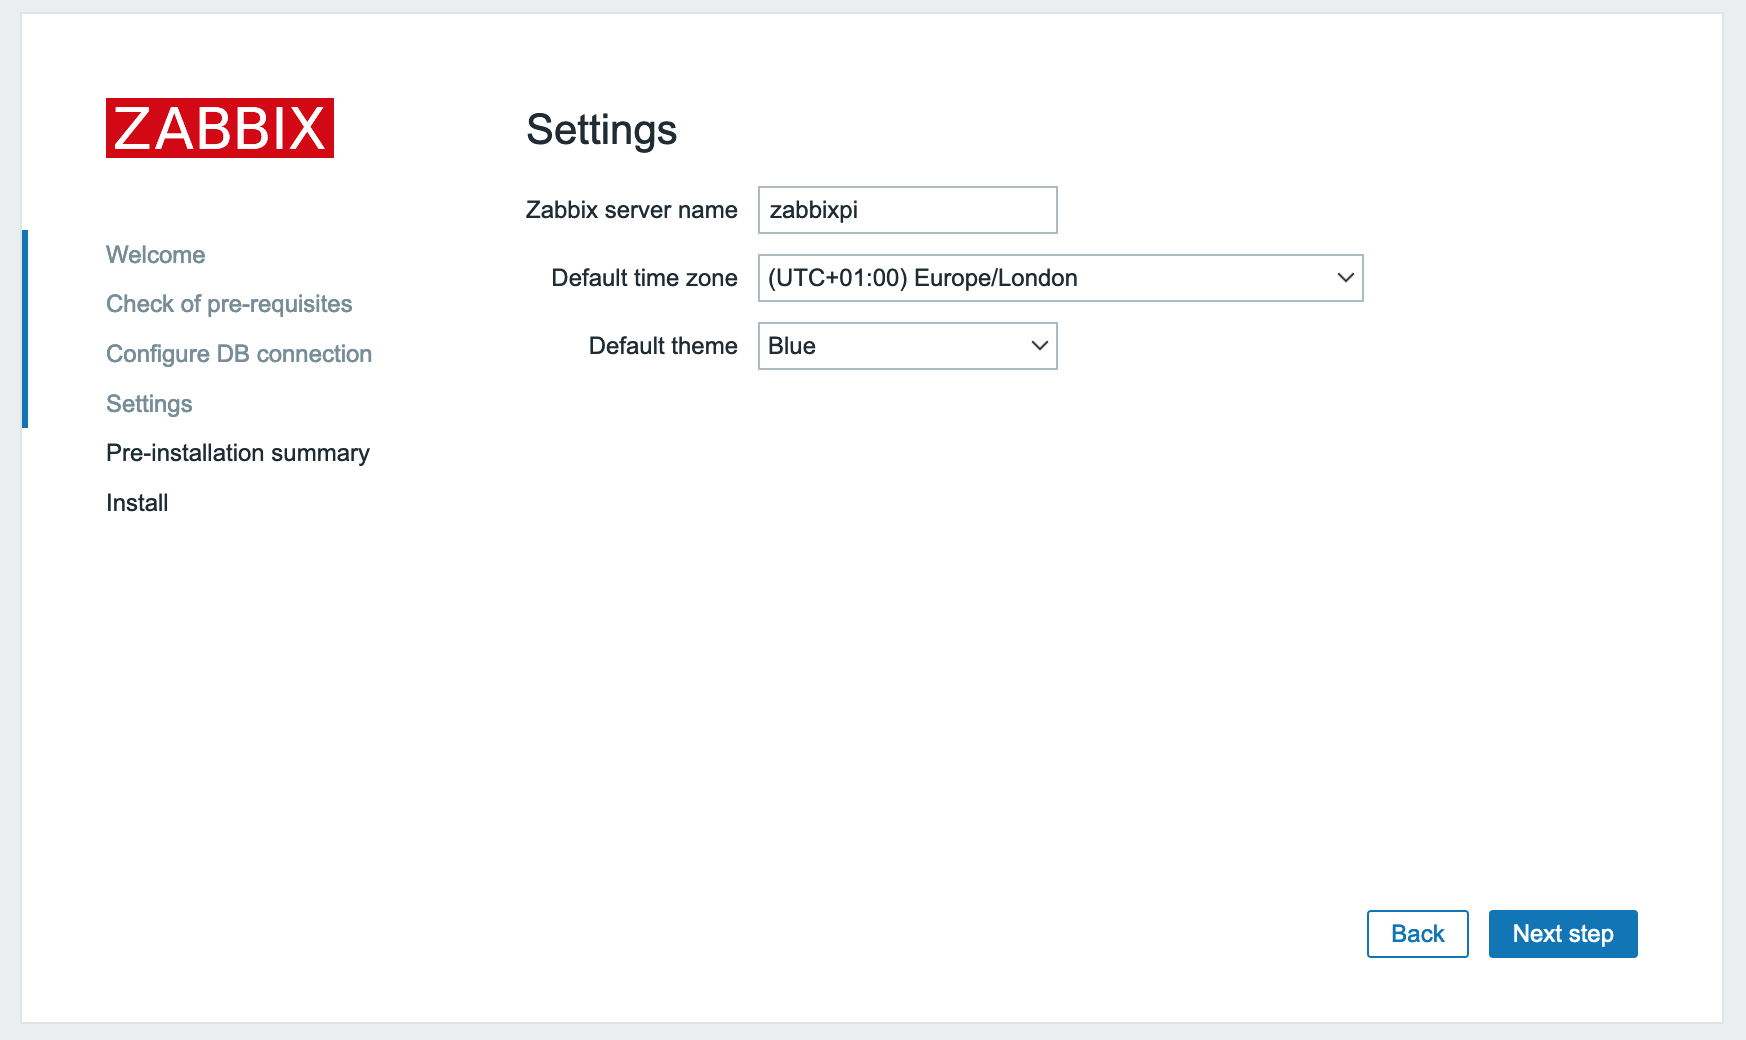
Lastly configure the server name and timezone.
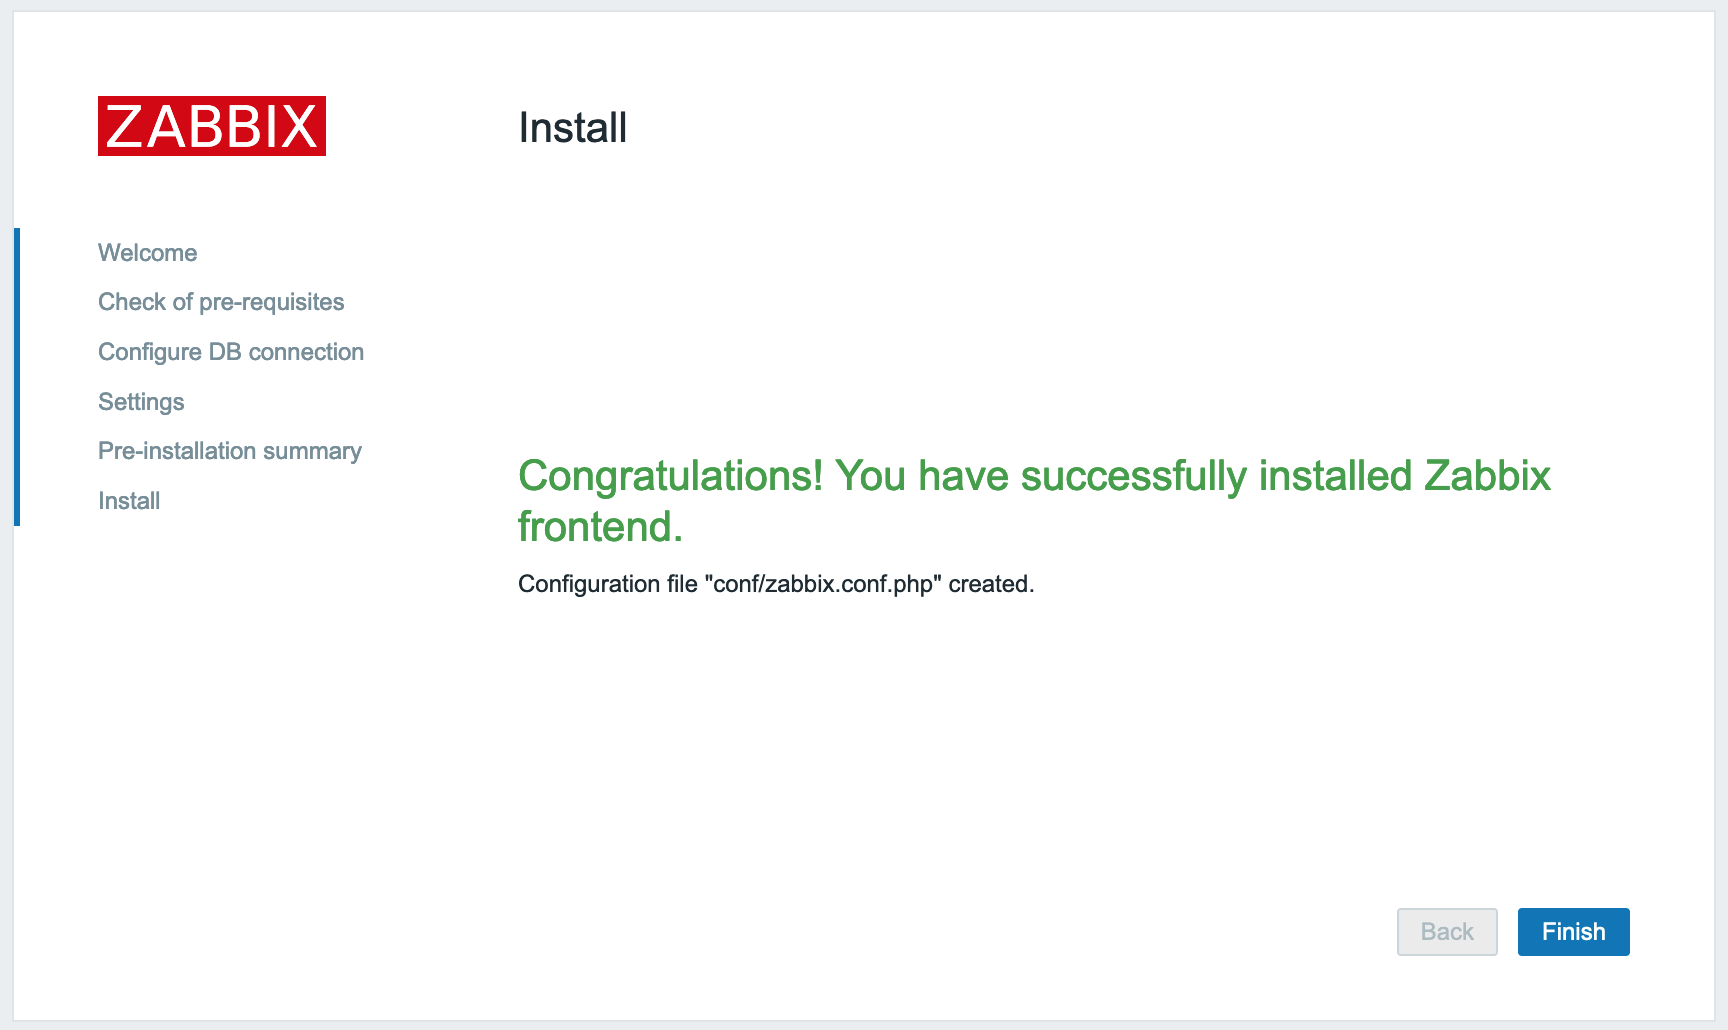
Configuration complete, a new file has been created in /usr/share/zabbix/conf/zabbix.conf.php
Continue to login. The default username is Admin with zabbixas the password.
To change the default password, navigate to “User Settings” > “Profile” and on the “User” tab select “Change Password”.