NetBox Ubuntu LXC on Proxmox
10 Oct 2021
NetBox is an infrastructure resource modelling (IRM) tool designed to empower network automation.
NetBox was developed specifically to address the needs of network and infrastructure engineers. It is intended to function as a domain-specific source of truth for network operations.
In this article I explore NetBox and the requirements of installing it from scratch on a Proxmox in an LXC Ubuntu container.
Let’s jump in.
Creating our Container
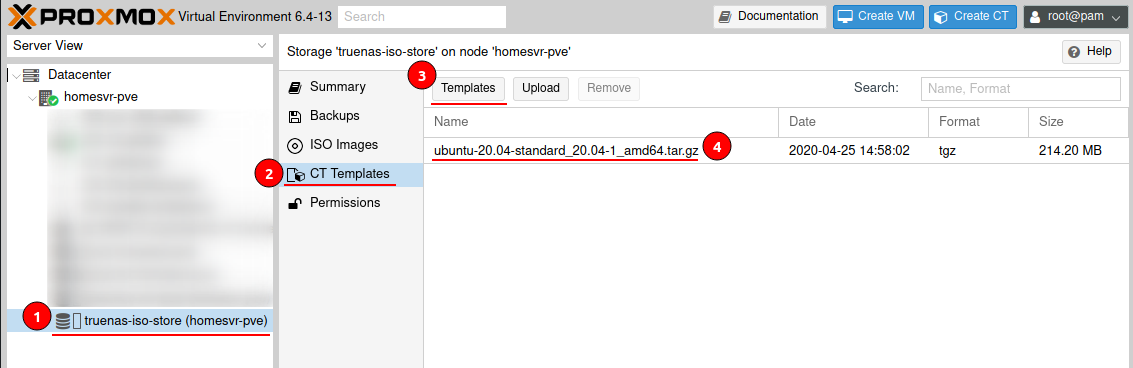
Make sure you have the Ubuntu 20.04 Container Template from within Proxmox.
Navigate to your storage > CT Templates > Templates and select Ubuntu 20.04.
Now create a new Container using the Create CT button and run through the wizard to create a Container with the following:
- Hostname
- Password & SSH Public Key
- Template: Ubuntu-20.04
- Root Disk: 32GB
- CPU Cores: 2
- Memory: 2048
- Network: DHCP
- DNS: use host settings
I have a DHCP server and I will be reserving my server address, you can also configure a static address.
Ensure that Start at Boot is enabled within the Container options.
Start the container and update the system
sudo apt update && sudo apt upgrade -y
NetBox Installation
The NetBox installation process is made up of 6 steps these are:
- PostgreSQL database
- Redis
- NetBox components
- Gunicorn
- HTTP server
- LDAP Authentication (optional - not covered in this article)
PostgreSQL database
NetBox requires PostgreSQL 9.6 or higher. Please note that MySQL and other relational databases are not currently supported.
Install PostgreSQL
sudo apt install -y postgresql
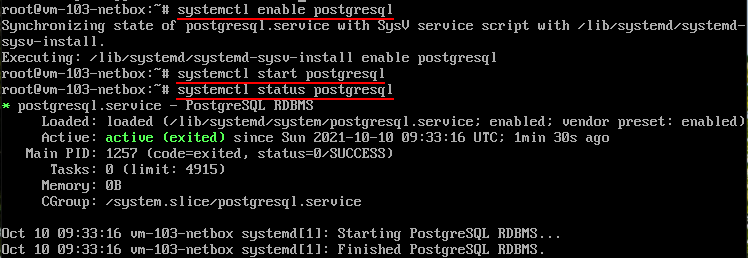
Enable and start the service
sudo systemctl enable postgresql
sudo systemctl start postgresql
Log into PostgreSQL shell using the system user
sudo -u postgres psql
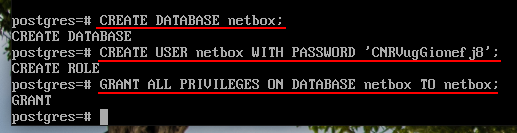
Create a Database and User for NetBox
CREATE DATABASE netbox;
CREATE USER netbox WITH PASSWORD 'SuperPassword';
GRANT ALL PRIVILEGES ON DATABASE netbox TO netbox;
\q or exit to exit PostgreSQL shell.
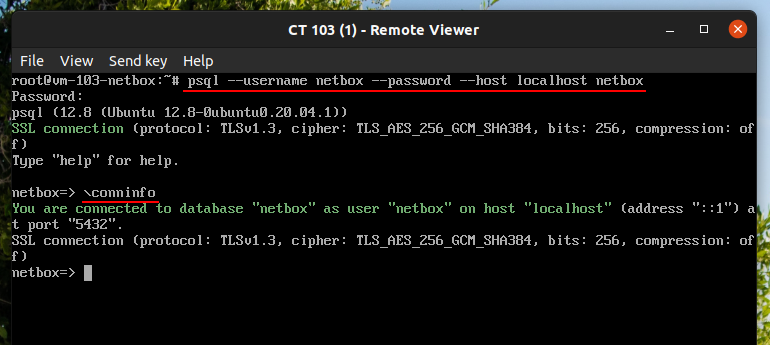
Verify service status by using the following command
psql --username netbox --password --host localhost netbox
If successful you will see a NetBox prompt. \conninfo to confirm your connection or \q or exit to exit.
Redis
Redis is a key-value store used for caching and background task queuing.
NetBox v2.9.0 and later require Redis v4.0 or higher.
Install Redis server
sudo apt install -y redis-server
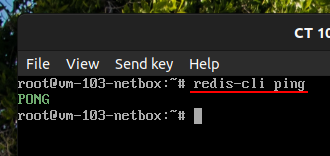
Verify, if successful you will receive a PONG.
redis-cli ping
NetBox components
NetBox v3.0 and later require Python 3.7, 3.8, or 3.9.
Install system packages
sudo apt install -y python3 python3-pip python3-venv python3-dev build-essential libxml2-dev libxslt1-dev libffi-dev libpq-dev libssl-dev zlib1g-dev
Update pip3
sudo pip3 install --upgrade pip
Download NetBox using the GitHub repository
We will need to install Git
sudo apt install -y git
Now clone the master branch of the NetBox GitHub repository into the opt folder.
cd /opt
sudo git clone -b master --depth 1 https://github.com/netbox-community/netbox.git
Create a system user and change the owner of the NetBox media directory
sudo adduser --system --group netbox
sudo chown --recursive netbox /opt/netbox/netbox/media/
NetBox Configuration File
Change directory to NetBox configuration directory and copy the example configuration file
cd /opt/netbox/netbox/netbox
sudo cp configuration.example.py configuration.py
Edit the configuration file
nano configuration.py
Only the following four are required for new installations
-
ALLOWED_HOSTS= Hostname and IP addresses by which the server can be reached, ensure values are wrapped in single quotes. You can also use*to allow all host values. -
DATABASE= Configuration details of our Postgre SQLDATABASE = { 'NAME': 'netbox', # Database name 'USER': 'netbox', # PostgreSQL username 'PASSWORD': 'SuperPassword', # PostgreSQL password 'HOST': 'localhost', # Database server 'PORT': '', # Database port (leave blank for default) 'CONN_MAX_AGE': 300, # Max database connection age (seconds) } -
REDIS= NetBox requires two databases; tasks and caching.REDIS = { 'tasks': { 'HOST': 'localhost', # Redis server 'PORT': 6379, # Redis port 'PASSWORD': '', # Redis password (optional) 'DATABASE': 0, # Database ID 'SSL': False, # Use SSL (optional) }, 'caching': { 'HOST': 'localhost', 'PORT': 6379, 'PASSWORD': '', 'DATABASE': 1, # Unique ID for second database 'SSL': False, } } -
SECRET_KEY= Randomly-generated key employed as a salt for hashing and related cryptographic functions.python3 ../generate_secret_key.pyRun the python script and copy the value into your configuration.py file.

highly available installation with multiple web servers,
SECRET_KEYmust be identical among all servers
NAPALM and Remote File Storage Integration
To add support for NAPALM and Remote File Storage we just need to add an entry into the local_requirements.txt before we run the Upgrade Script.
NAPALM
sudo sh -c "echo 'napalm' >> /opt/netbox/local_requirements.txt"
Remote File Storage
sudo sh -c "echo 'django-storages' >> /opt/netbox/local_requirements.txt"
Actual Installation
Run the upgrade script, which performs the following:
- Create a Python virtual environment
- Installs all required Python packages
- Run database schema migrations
- Builds the documentation locally (for offline use)
- Aggregate static resource files on disk
sudo /opt/netbox/upgrade.sh
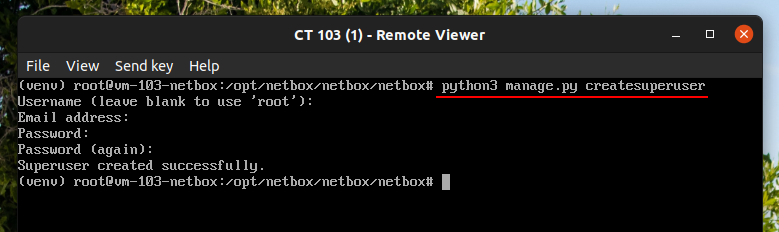
Create your NetBox Super User account
source /opt/netbox/venv/bin/activate
cd /opt/netbox/netbox
python3 manage.py createsuperuser
Schedule the Housekeeping task with cron.
ln -s /opt/netbox/contrib/netbox-housekeeping.sh /etc/cron.daily/netbox-housekeeping
Test the Application
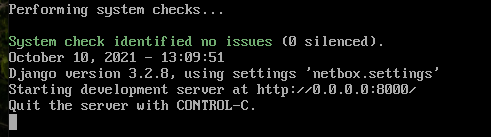
Run NetBox’s development server for testing
cd /opt/netbox/netbox/
python3 manage.py runserver 0.0.0.0:8000 --insecure
Now while the development server is running, connect to your application via port 8000 as defined by your ALLOWED_HOSTS, then log in using your superuser account.
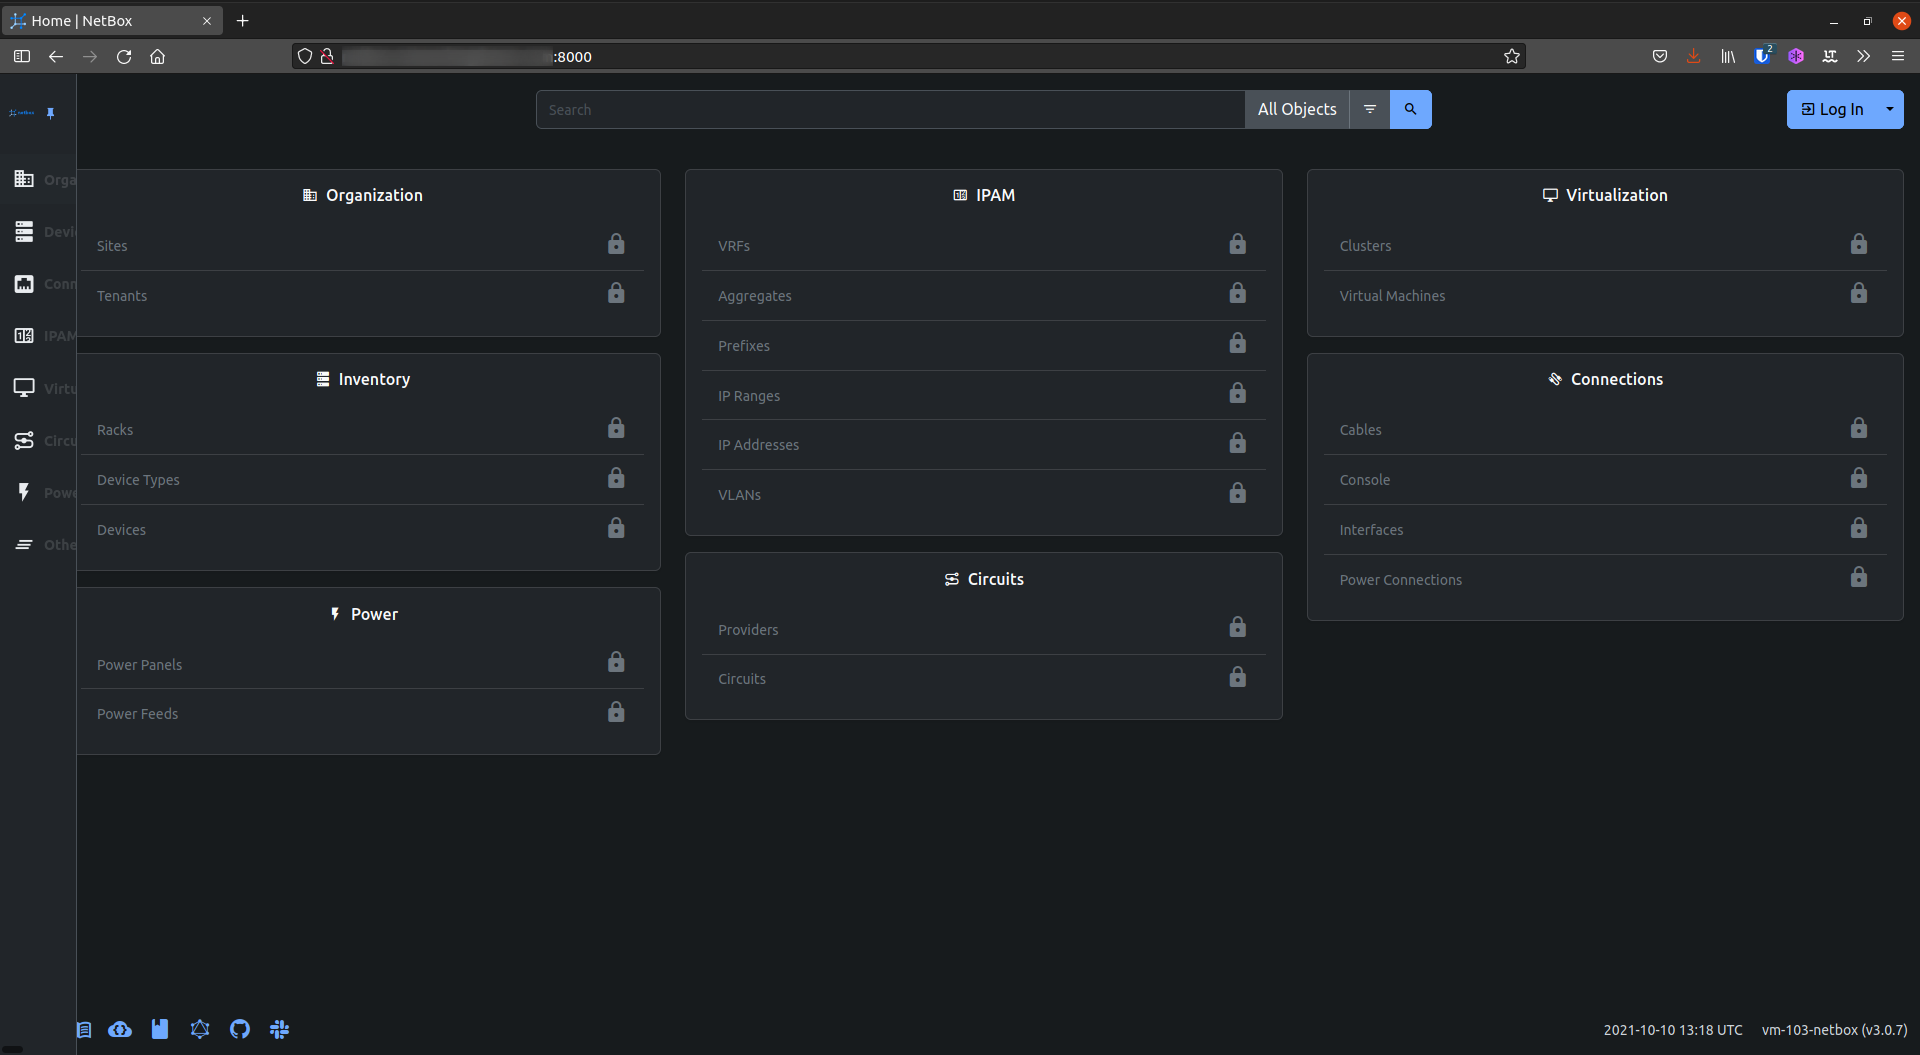
Finally stop the development server by pressing Ctrl + c.
Gunicorn
Gunicorn is a Python WSGI HTTP server and the one installed from NetBox documentation.
To use Gunicorn copy the python file
cp /opt/netbox/contrib/gunicorn.py /opt/netbox/
Although the provided configuration should suffice, you can see the Gunicorn documentation for available configuration parameters.
Creating the Systemd Setup
Creating the netbox and netbox-rq services
sudo cp -v /opt/netbox/contrib/*.service /etc/systemd/system/
sudo systemctl daemon-reload
Enable and start the services
sudo systemctl enable netbox netbox-rq
sudo systemctl start netbox netbox-rq
systemctl status netbox
HTTP server
Generate self-signed certificate
sudo openssl req -x509 -nodes -days 365 -newkey rsa:2048 -keyout /etc/ssl/private/netbox.key -out /etc/ssl/certs/netbox.crt
Install Nginx
sudo apt install -y nginx
Copy the configuration provided by NetBox
sudo cp /opt/netbox/contrib/nginx.conf /etc/nginx/sites-available/netbox
Remove the default Nginx site
sudo rm /etc/nginx/sites-enabled/default
Create a symlink to sites-enabled
sudo ln -s /etc/nginx/sites-available/netbox /etc/nginx/sites-enabled/netbox
Edit the provided configuration file
sudo nano /etc/nginx/sites-available/netbox
Change the following
server_name= make sure to match what you put inALLOWED_HOSTS.
Restart the Nginx service
sudo systemctl restart nginx
You can now visit your new NetBox installation using your configured allowed host for example https://netbox.example.com/. I’m excited to explore what NetBox has to offer and will be sharing my experiences in future posts. For now enjoy your new NetBox installation and like me, maybe create a snapshot or backup just in-case you need to roll back.