GNS3 server on Proxmox
07 Nov 2021
In this article I setup a GNS3 server on my Proxmox virtualisation environment (VE). I walk though how to create a new virtual machine and import the KVM qcow2 files to run our GNS3 server. I then demonstrate how to configure some basic elements of the server and how to add new devices such as Docker containers, creating our own template for Virtual machines (Qemu) and how to add a Cisco 2600 router. Lastly I cover how to configure your client GNS3 to remotely work on this server.
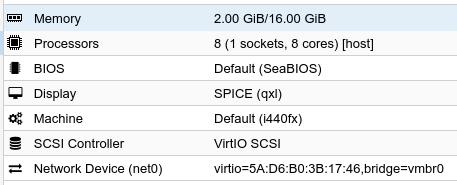
First lets create a new Virtual Machine (VM) in Proxmox, I have a few settings listed below which I used when creating my VM
- Name: GNS3
- OS: Do not use any media
- Hard Disk: need to create one but we will remove it, any will do.
- CPU: 8 cores, type: host
- Memory: 16384 MiB (16GB), minimum 2048 (2GB)
After creation detach and remove the Hard Disk we just created during the wizard.
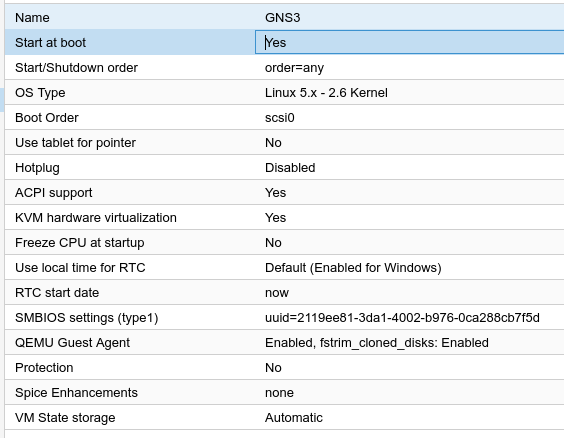
There are a few options to change as well, these are:
- Start at boot: Yes
- Use tablet for pointer: No
- Hotplug: Disabled
- QEMU Guest Agent: Enabled
Now that our VM is ready we can continue with preparing our qcow2 files
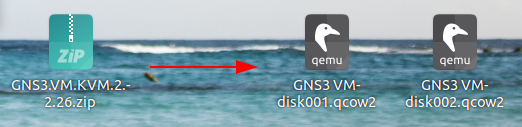
Download the KVM GNS3 from the GNS3 GitHub repo

Extract the two qcow2 files
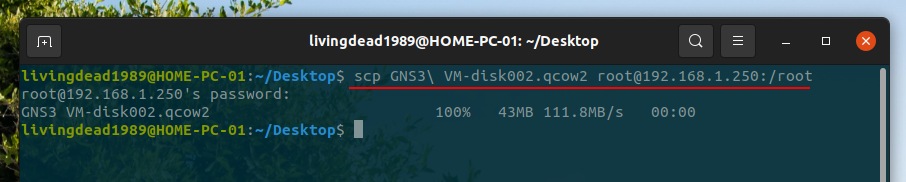
Upload the qcow2 files to your Proxmox server, I will be using scp to perform this task.
The command, broken down.
scp <filename>.qcow2 user@proxmox-ip:/location
Actual commands I used.
scp GNS3\ VM-disk001.qcow2 [email protected]:/root
scp GNS3\ VM-disk002.qcow2 [email protected]:/root
Now that both files have been transferred, open a SSH connection to your Proxmox server
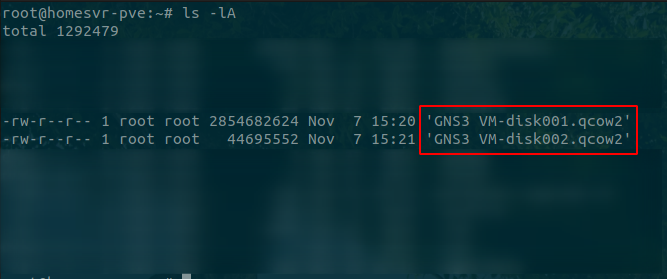
After we have confirmed the files exist we can import the disks to the VM we previously created, you’ll need to know the VM ID number, mine is 120.
The command, broken down.
qm importdisk <VM-ID> <File> <Storage>
These are the commands I used to import the disks.
qm importdisk 120 GNS3\ VM-disk001.qcow2 local-data-zfs
qm importdisk 120 GNS3\ VM-disk002.qcow2 local-data-zfs
Use tab to auto-complete if you get stuck with which storage is available to use, in most cases the default with ZFS installation will be local-zfs.

Remove the original qcow2 files after importing using a wildcard remove command
rm GNS3\ VM-disk00*
Now go back to your Proxmox webGUI, select the VM and the Hardware tab and you’ll see unused disks

Double click and attach each one, enabling SSD and Discard (TRIM) if required.
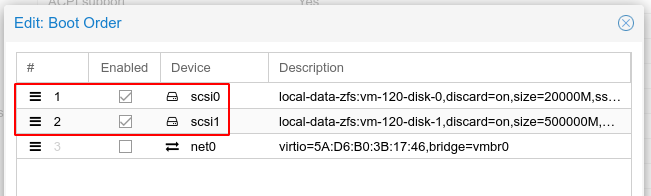
Don’t forget to go to options and add the correct boot order for the newly attached disks.
Adding Qemu Guest Agent
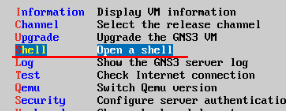
Start the VM and enter a shell, this can be done via the GNS3 VM menu, as shown.
Now we can use apt to update our repositories and Install the qemu guest agent.
sudo apt update
sudo apt install -y qemu-guest-agent
Lastly reboot the server.
Configuring GNS3
GNS3 offers a web browser version, which has limitations but is still a fantastic tool, it also allows us to add some configuration to our GNS3 server or create additional servers.
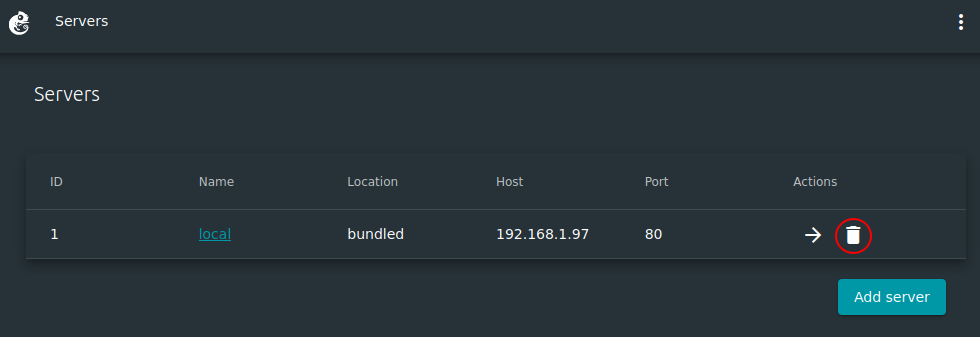
Go to the web GUI at http://192.168.1.97/
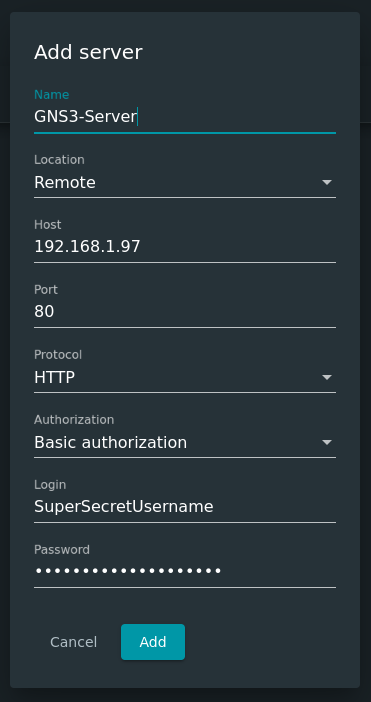
I’m going to remove the default server and create a fresh one.
When creating a new server we can provide some details such as; the name, port, protocol and authentication methods. For this article I have setup a HTTP server with basic authentication as shown in the image below.
Configuring GNS3 Clients
To configure our clients to have remote access to our server we need to go to Edit > Preferences on our client GNS3 software.
Select Server and uncheck the ‘Enable local server’ option, then populate the remote main server details.
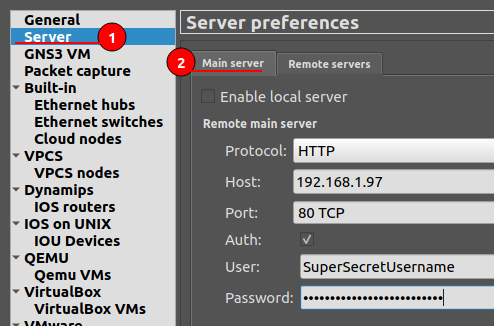
The remote server should be responsive with a green circle in the Servers Summary panel.

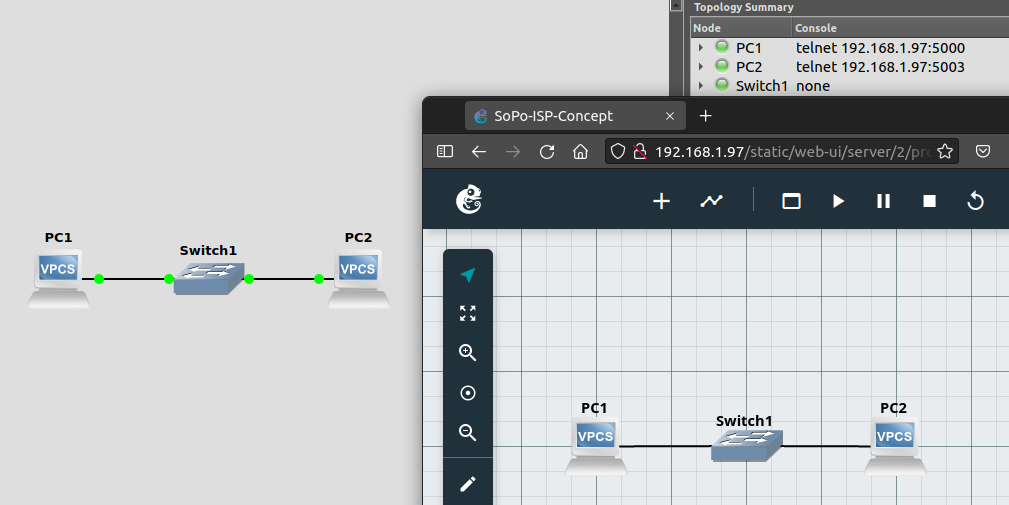
Test the setup by adding a few VPCs and Switch, you should notice that everything is working on the remote server, you can even see changes occurring in the web GUI.
Adding devices
We can add new devices such as containers from the client within GNS3. Start by navigating to File > New Template, select ‘Install an appliance from the GNS3 server (recommended)’.
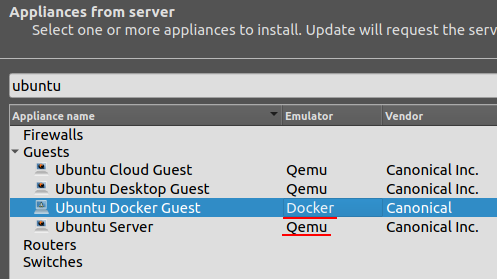
Docker images will automatically be pulled down from the server when you deploy them.
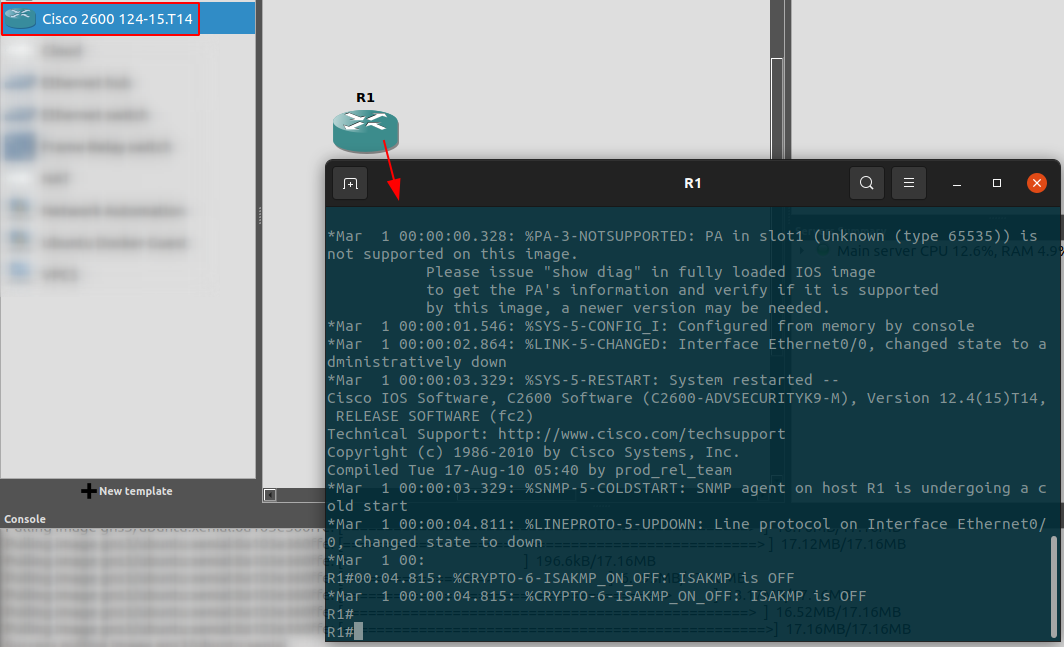
Other images may need to be downloaded or imported. I will demonstrate using a Cisco 2600 router image.
The steps are basically the same, except you need to import the image from your local machine.

Once you have imported the image the device becomes available for use in GNS3, as shown the figure below.
There are many more appliances via the Market place
Creating Virtual Machines from ISO installers
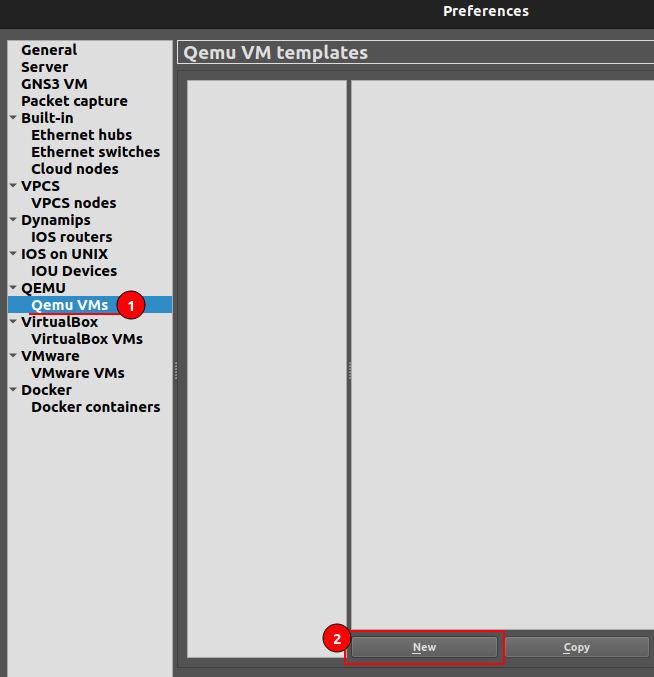
To achieve this we will be creating our own Qemu VM template.
Start by going to Edit > Preferences and QEMU > Qemu VMs.
Provide a VM name, I have given this template the name of ‘Ubuntu-Server-20-04’ and click next.
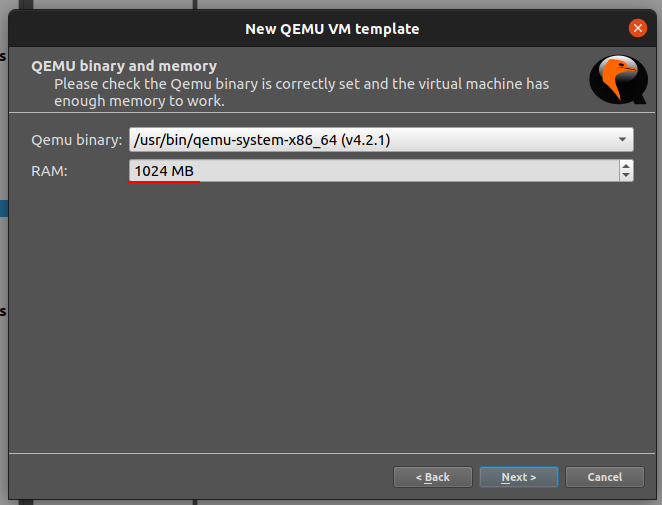
Increase the Ubuntu VM’s RAM to 1024 MB (1GB) - Add more RAM if you have the spare resources.
For the console type I will be using SPICE.
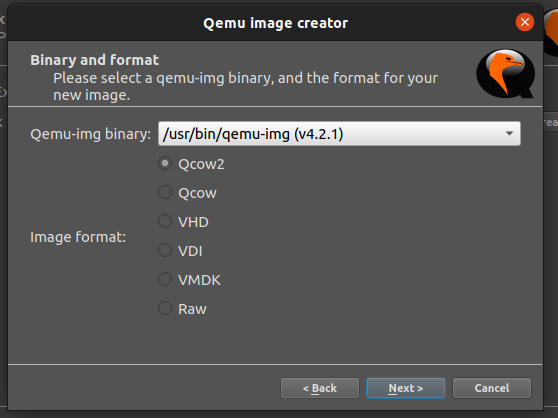
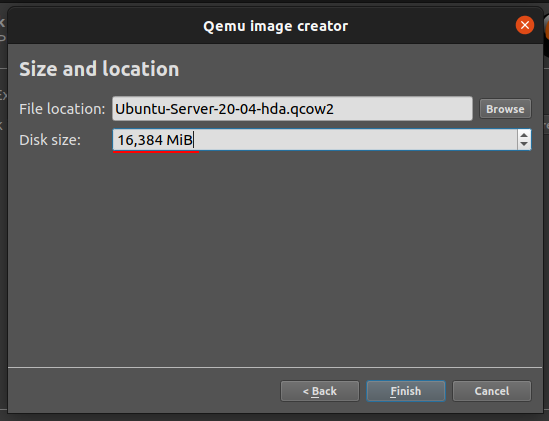
Create a new Hard Disk image.
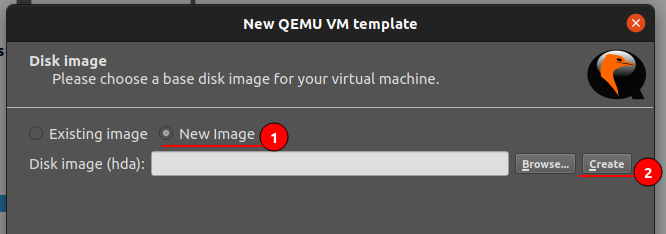
Default values are fine here.
Change the default disk size to 16,384 MiB (16GB) - Add more storage if you have the spare resources.
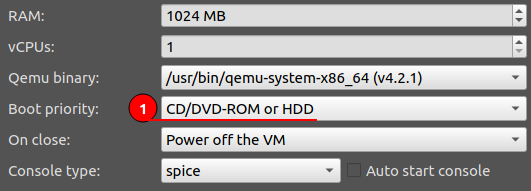
This will end the wizard, but we need to tweak a few more settings so click ‘Edit’ after the wizard.
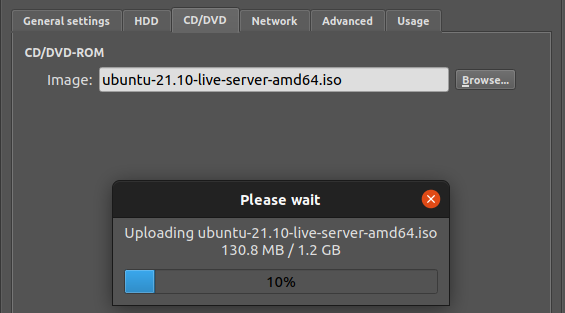
Change the boot priority to CD/DVD-ROM or HDD, otherwise the VM will not boot to the ISO.
You can also change the amount of vCPUs this machine has available.
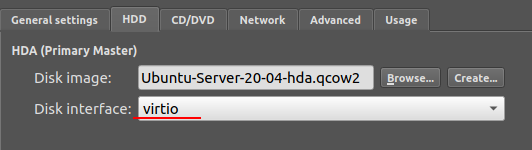
Change the Disk interface to use VirtIO
Select your downloaded Ubuntu server ISO (I downloaded 21.10, although I named the template 20.04), this will also trigger an upload to the GNS3 server.
Change the Network Type to use Paravirtualized Network I/O (VirtIO)

Now we can use a blank VM, preloaded with the Ubuntu installer ISO.
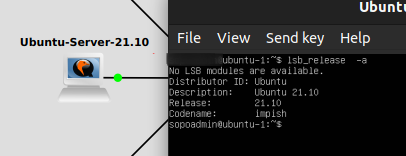
I skipped through installation, but here you can see a fresh copy of Ubuntu 21.10 running within GNS3.
This brings us to the end of the article, I hope you enjoyed creating a GNS3 server. GNS3 is an extremely powerful tool for playing and learning different technologies.