AdGuard Home Alpine LXC on Proxmox
08 Oct 2021
In this article I walk through the steps required to deploy an Alpine container within my Proxmox Virutal Environment and setup AdGuard Home.
Why a container?
This is a great question and the answer for me to pretty simple, Containers are light-weight compared to a Virtual Machine (VM) becuase the host kernel is used instead of virtualisating its own. Read more in this IBM article.
Why use Alpine?
Alpine is tailored for containers, its built as a base for Application deployment and is extremely light-weight on resources and because its stripped down there is the added security value from a smaller footprint.
What is AdGuard Home?
AdGuard Home is a network-wide software for blocking ads & tracking. AdGuard Home has a focus on family protection (parental control) out of the box. You’ll see more when we start deploying this application.
Comparsion table to PiHole from AdGuard Home
Create the LXC container
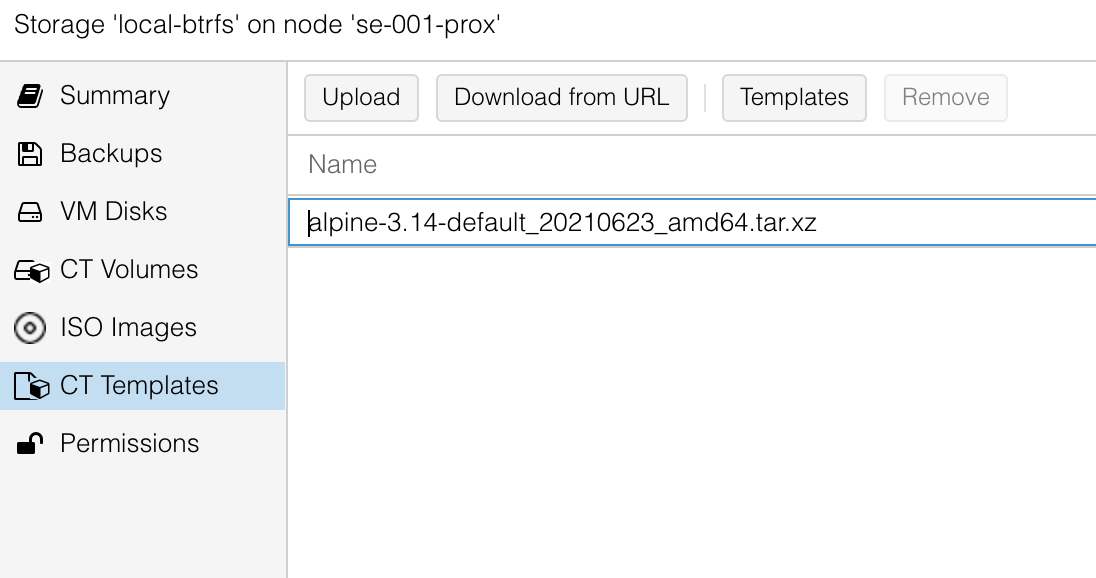
To deploy LXC containers on Proxmox we first need to add some templates. You’ll need to navigate to your storage > CT Templates and click the Templates button at the top, a new list of available templates will show and we can add the Alpine-3.14-default template.
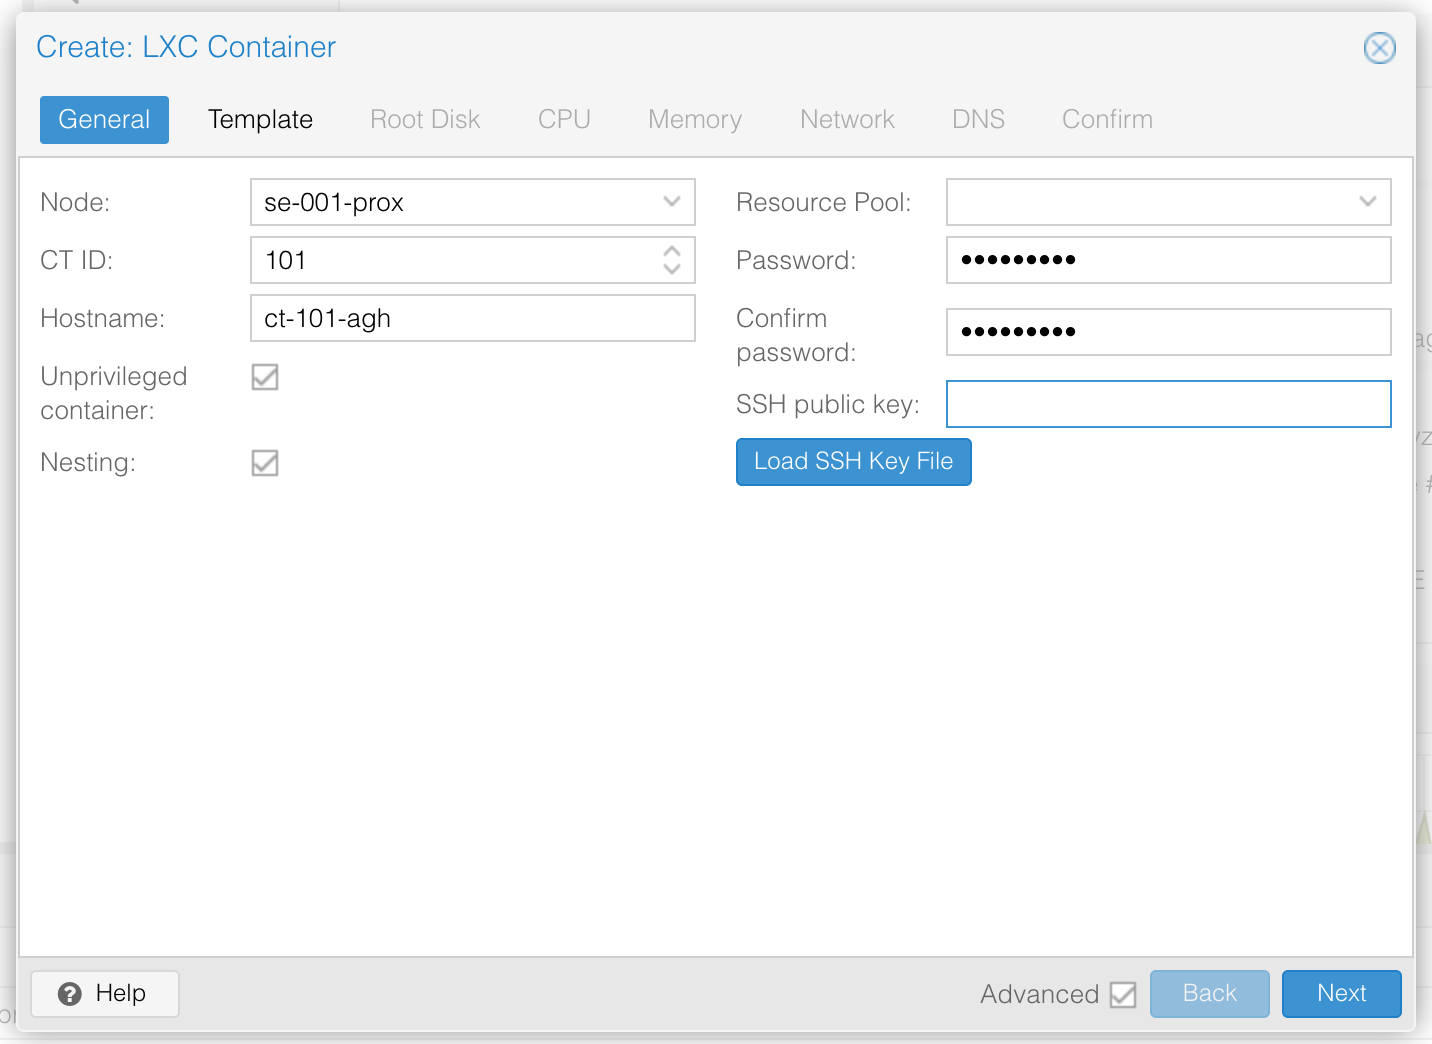
Once we have our template we can start to create the Container, at the top right on the Proxmox webGUI click the Create CT button and follow through the wizard.
Starting witht the General tab, here we just need to give a hostname and password or SSH public key if you prefer that extra security. I have also unchecked the Nesting option for my container.
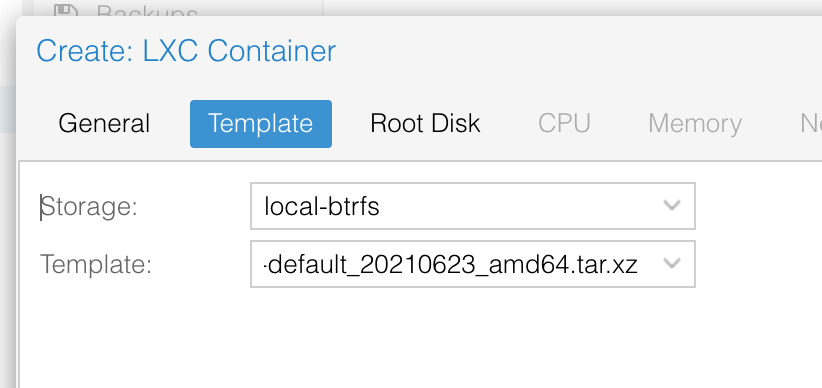
In the template tab select the Alpine template we added previously.
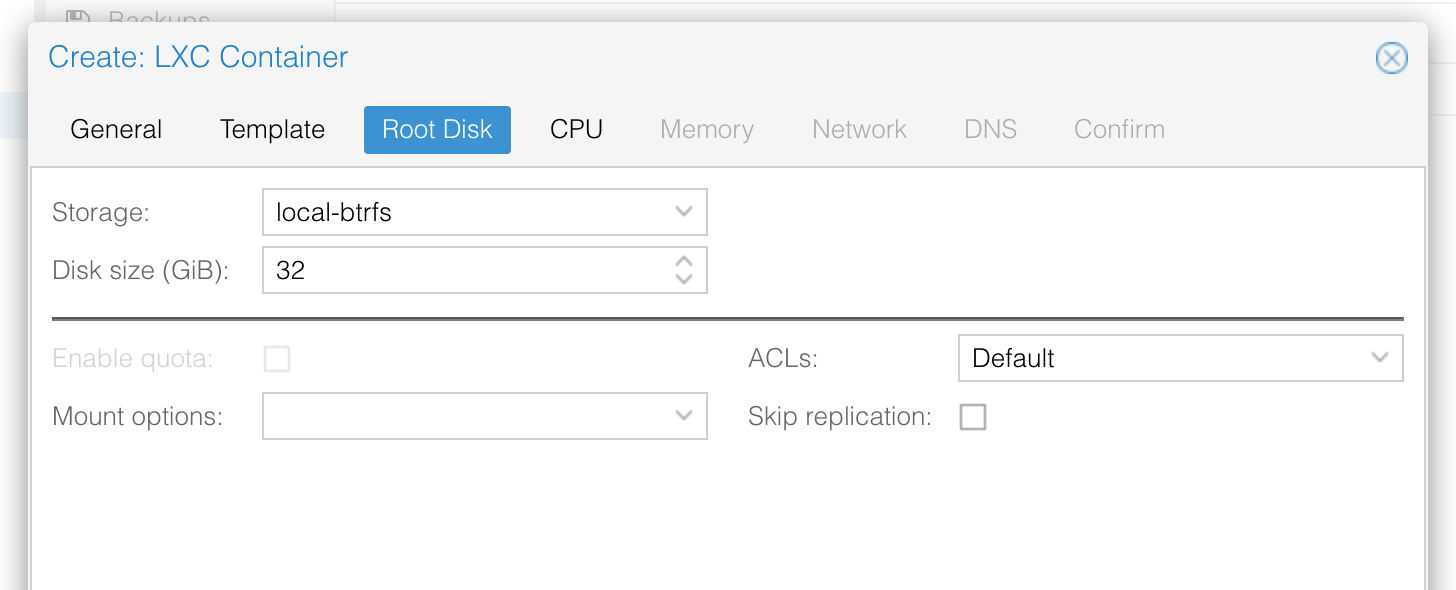
I have given a huge 32GiB of disk space, this will allow for any large log files.
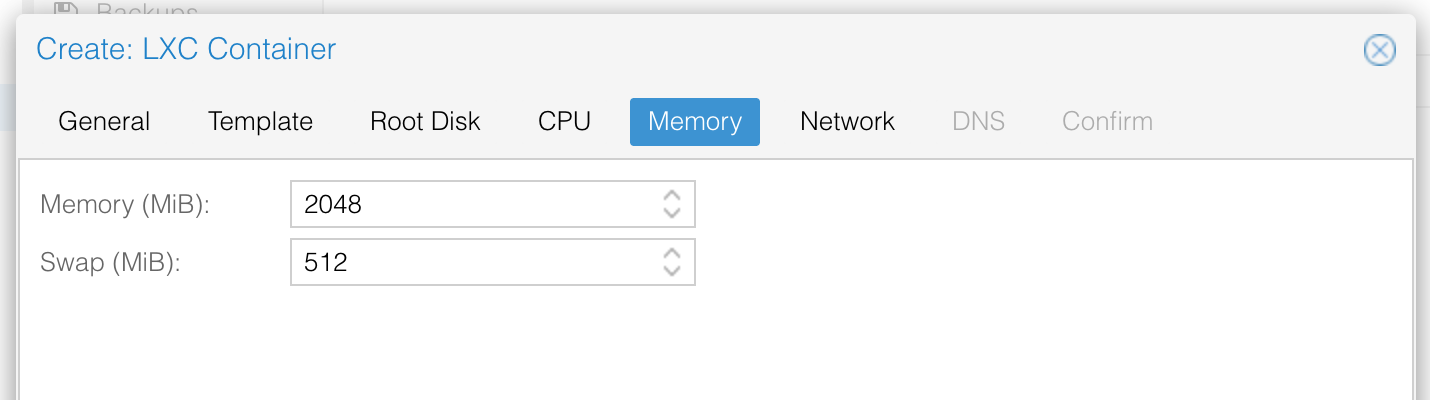
In my Container I have given in two cores.
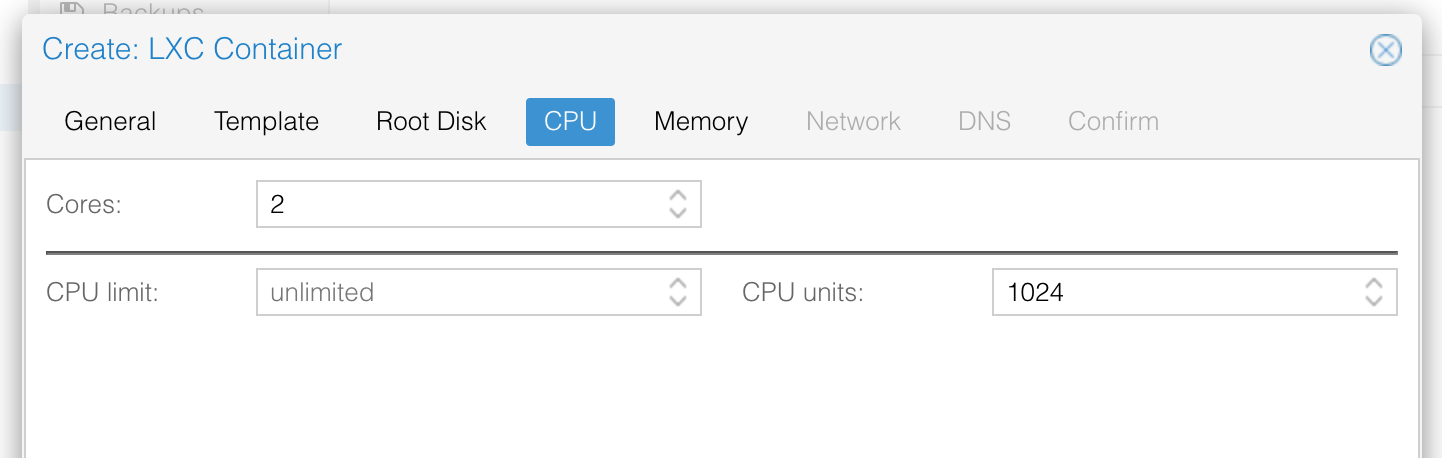
and provided it with 2GB of Memory.
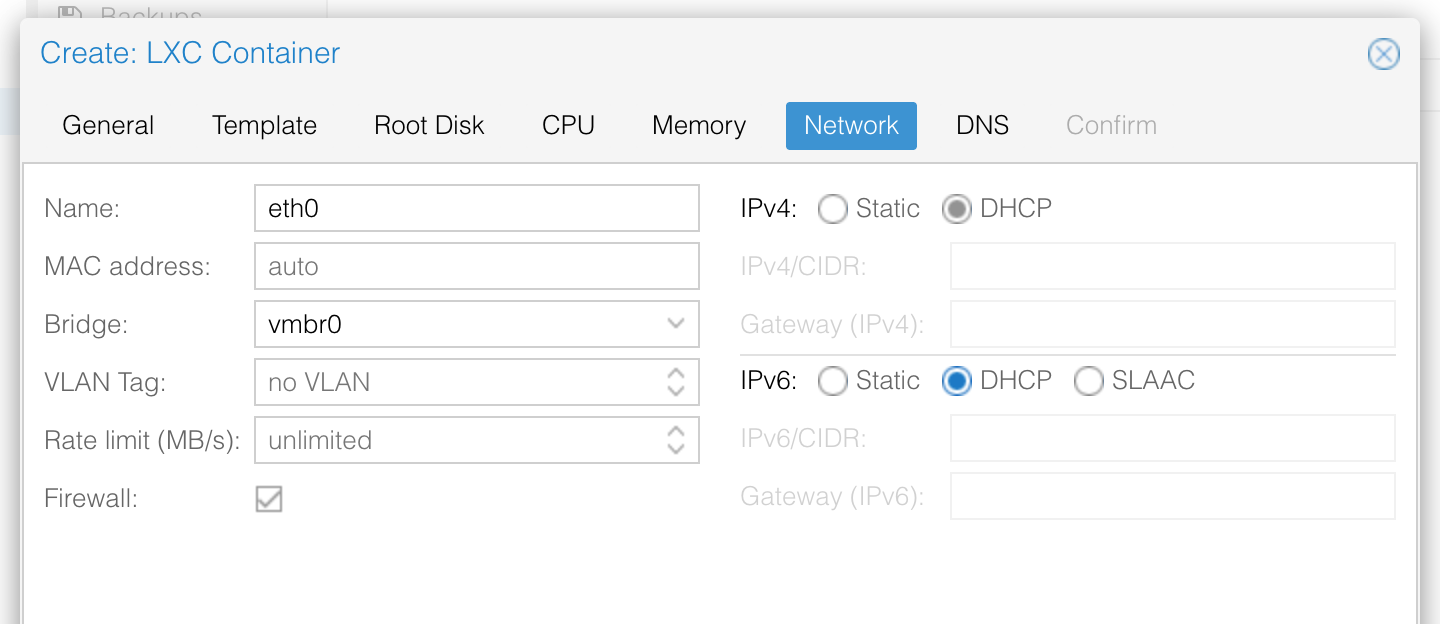
Lastly is the networking elements, because I already have a DHCP and DNS server I have set these options to DHCP for both IPv4 and IPv6. Given the nature of this service you may wish to add a static address, these options can always be modified later if you decide you need to alter them.
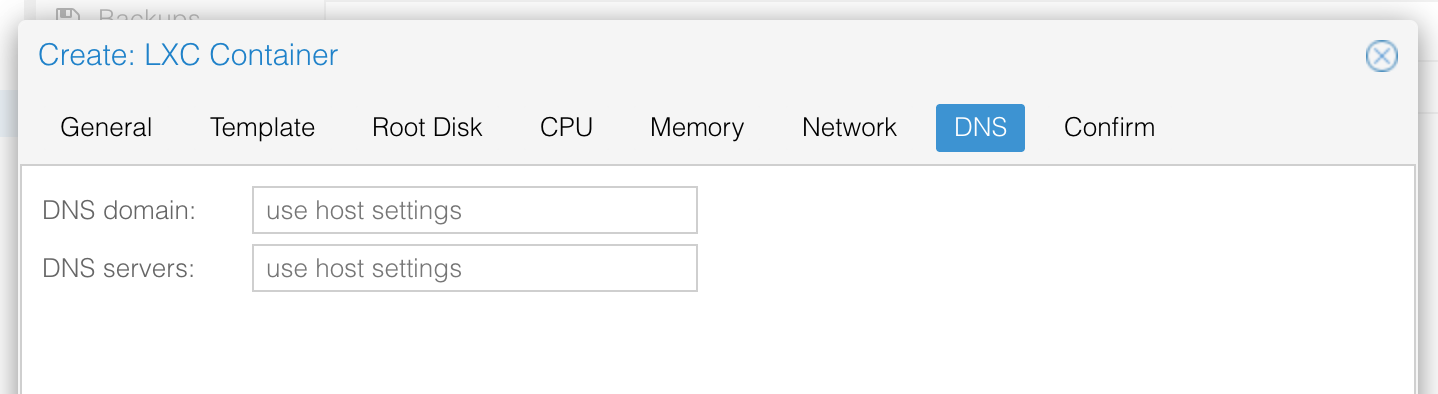
I have set my DNS to match my Proxmox host.
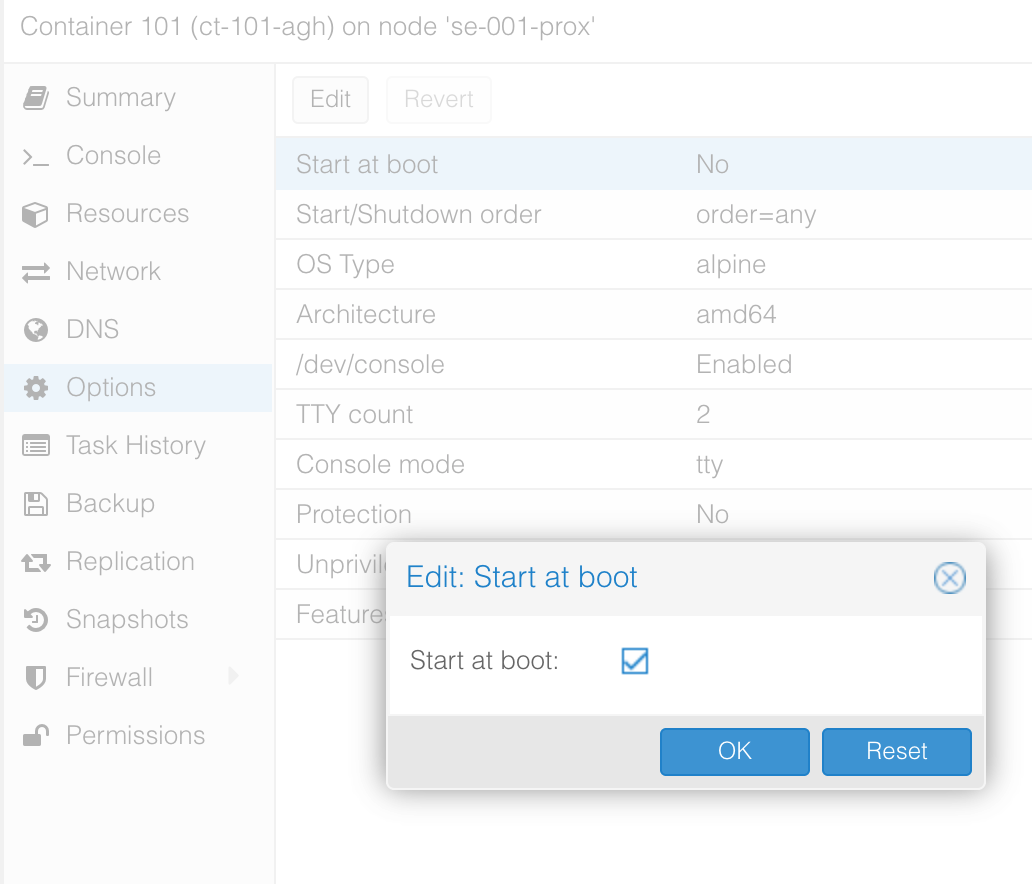
After the Container has been created dont forget to go into the Options and set Start at Boot to Enabled.
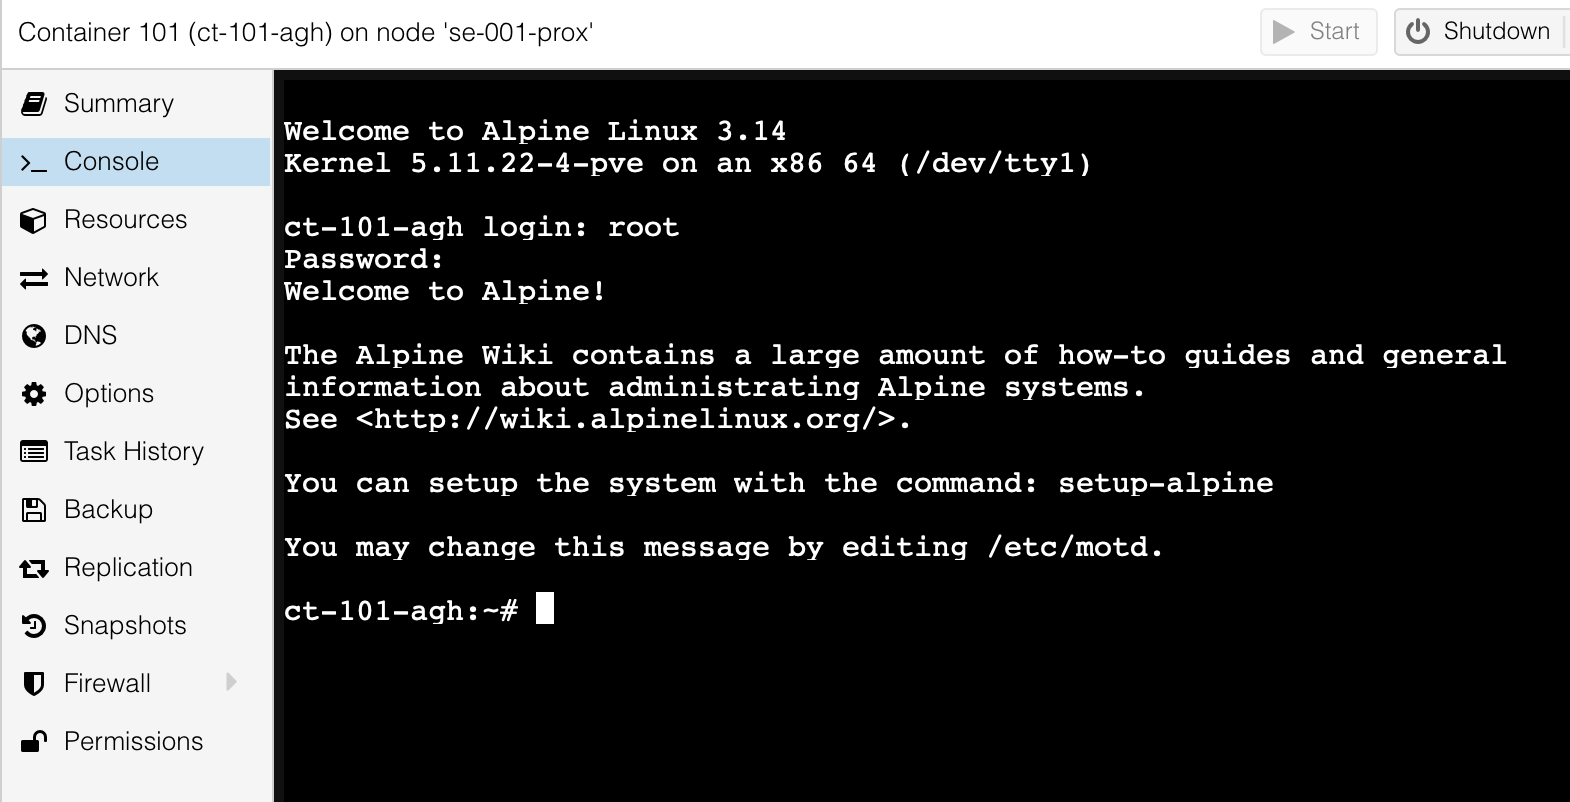
Now you can start the Container, the username is root and the password we set at creation.
Software Deployment
Now we are ready to start deploying AdGuard Home on our Apline Container.
First we’ll want to make sure the container is up-to date by using apk.
apk update
apk upgrade
Now we need to download the Linux 64-bit package we will use wget which is already installed on Alpine. You can find a link to the current version using the AdGuard Home Github Getting started page.
https://github.com/AdguardTeam/AdGuardHome/wiki/Getting-Started
wget https://static.adguard.com/adguardhome/release/AdGuardHome_linux_amd64.tar.gz
Extract the contents to the /opt directory
tar -C /opt/ -zxf AdGuardHome_linux_amd64.tar.gz
Clean up your left over files
rm AdGuardHome_linux_amd64.tar.gz
Create a new init.d file and edit using vi. - I’ve included a Vi cheatsheet link if required.
vi /etc/init.d/AdGuardHome
Add the following to this file
#!/sbin/openrc-run
#
# openrc service-script for AdGuardHome
#
# place in /etc/init.d/
# start on boot: "rc-update add adguardhome"
# control service: "service adguardhome <start|stop|restart|status|checkconfig>"
#

description="AdGuard Home: Network-level blocker"

pidfile="/run/$RC_SVCNAME.pid"
command="/opt/AdGuardHome/AdGuardHome"
command_args="-s run"
command_background=true

extra_commands="checkconfig"

depend() {
  need net
  provide dns
  after firewall
}

checkconfig() {
  "$command" --check-config || return 1
}

stop() {
  if [ "${RC_CMD}" = "restart" ] ; then
    checkconfig || return 1
  fi

  ebegin "Stopping $RC_SVCNAME"
  start-stop-daemon --stop --exec "$command" \
    --pidfile "$pidfile" --quiet
  eend $?
}
Make the file executable
chmod +x /etc/init.d/AdGuardHome
Finally enable the service at boot and start the service now.
rc-update add AdGuardHome
rc-service AdGuardHome start
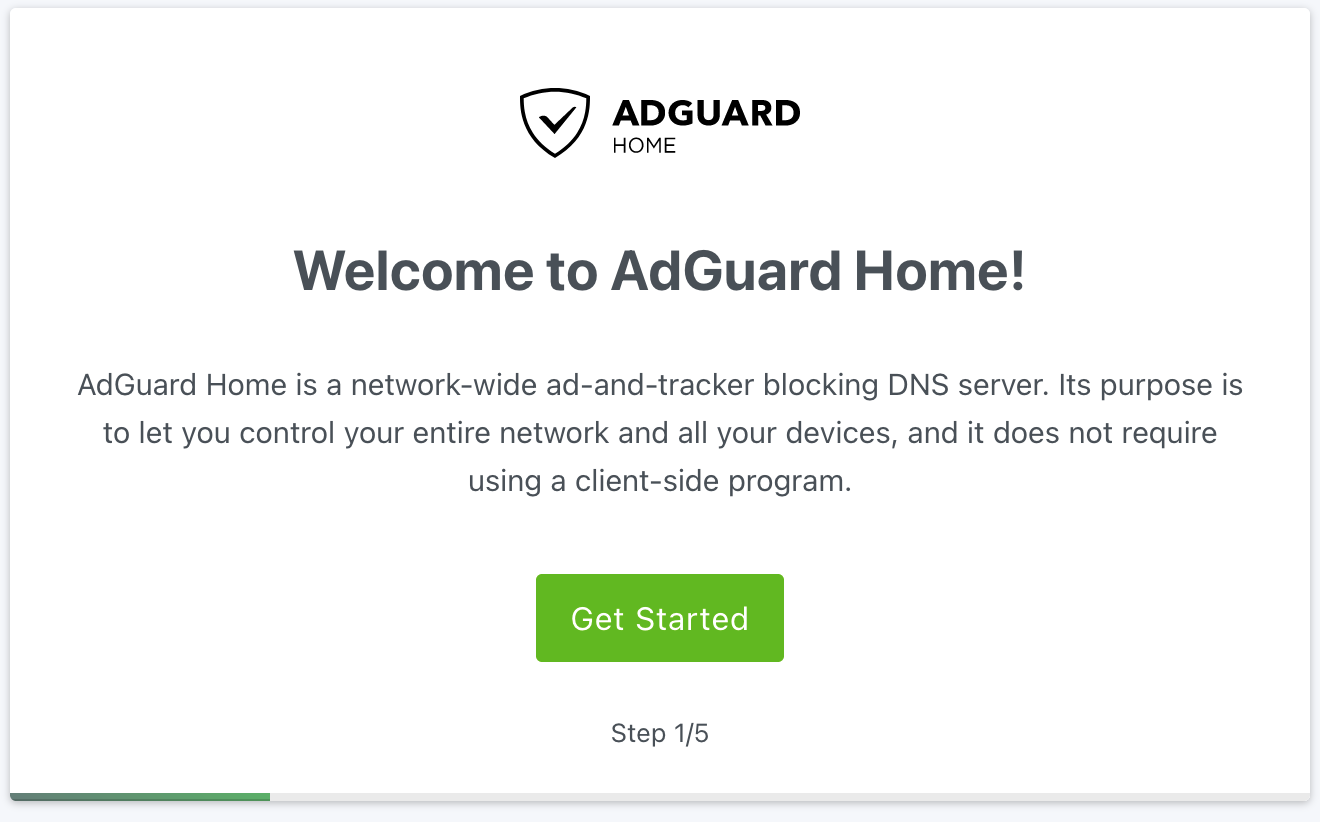
Deployment is now complete and we can visit the webGUI on port 3000 for example http://192.168.1.85:3000/.
The first run through will be the initial configuration wizard
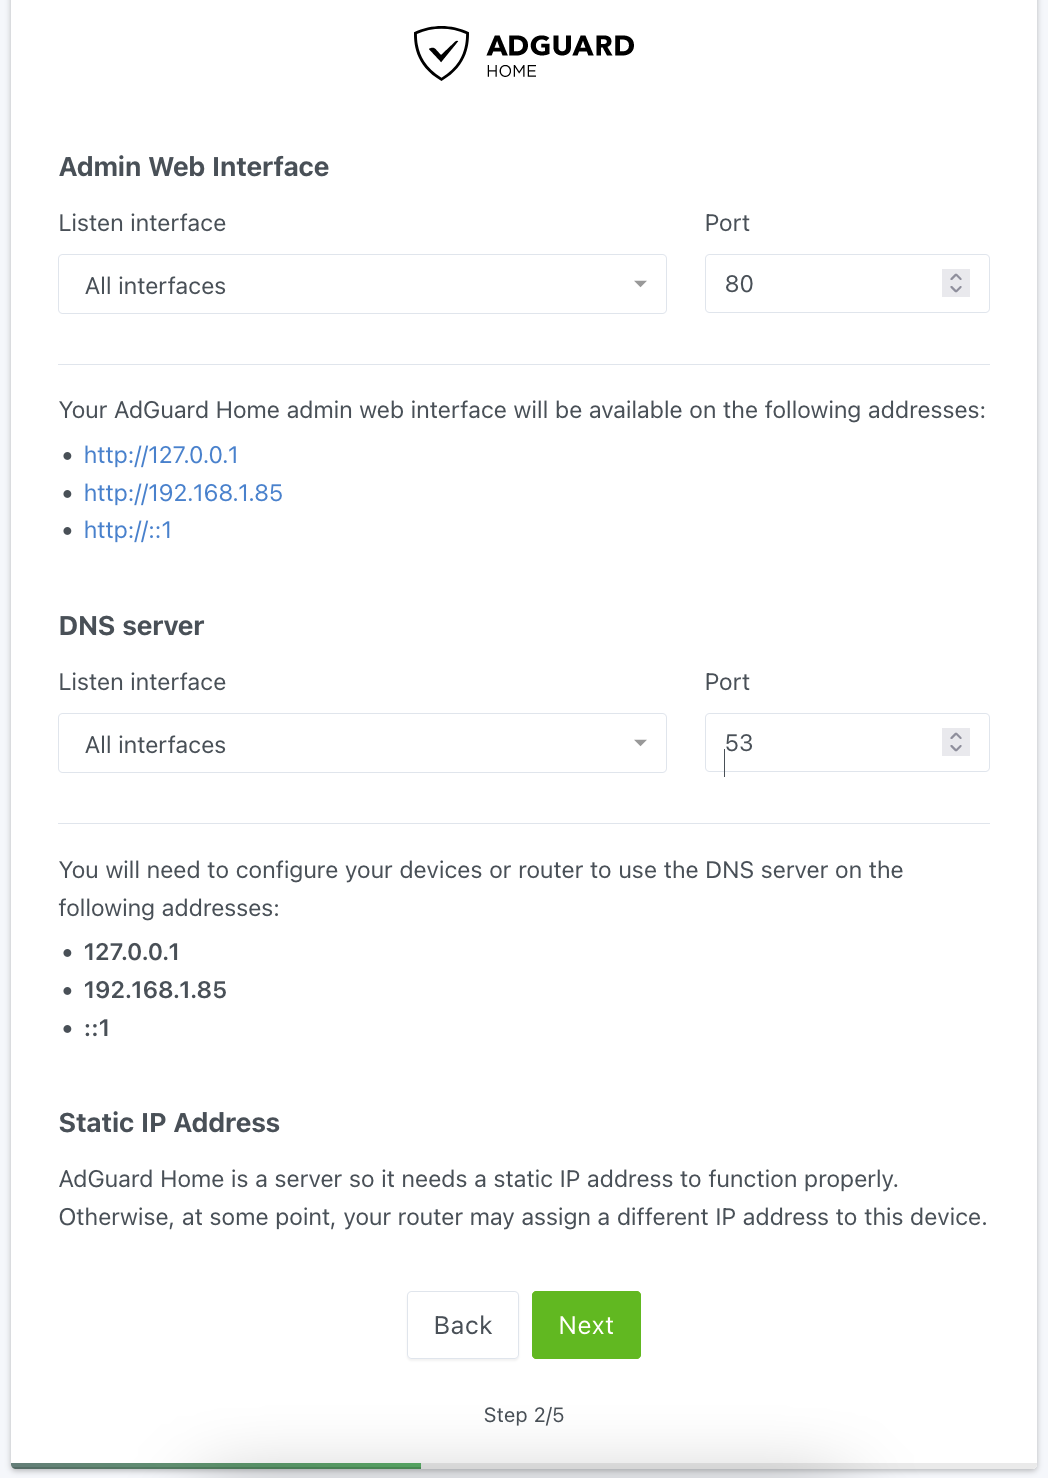
I’ve left the values to default to enable listening on all interfaces and the default ports.
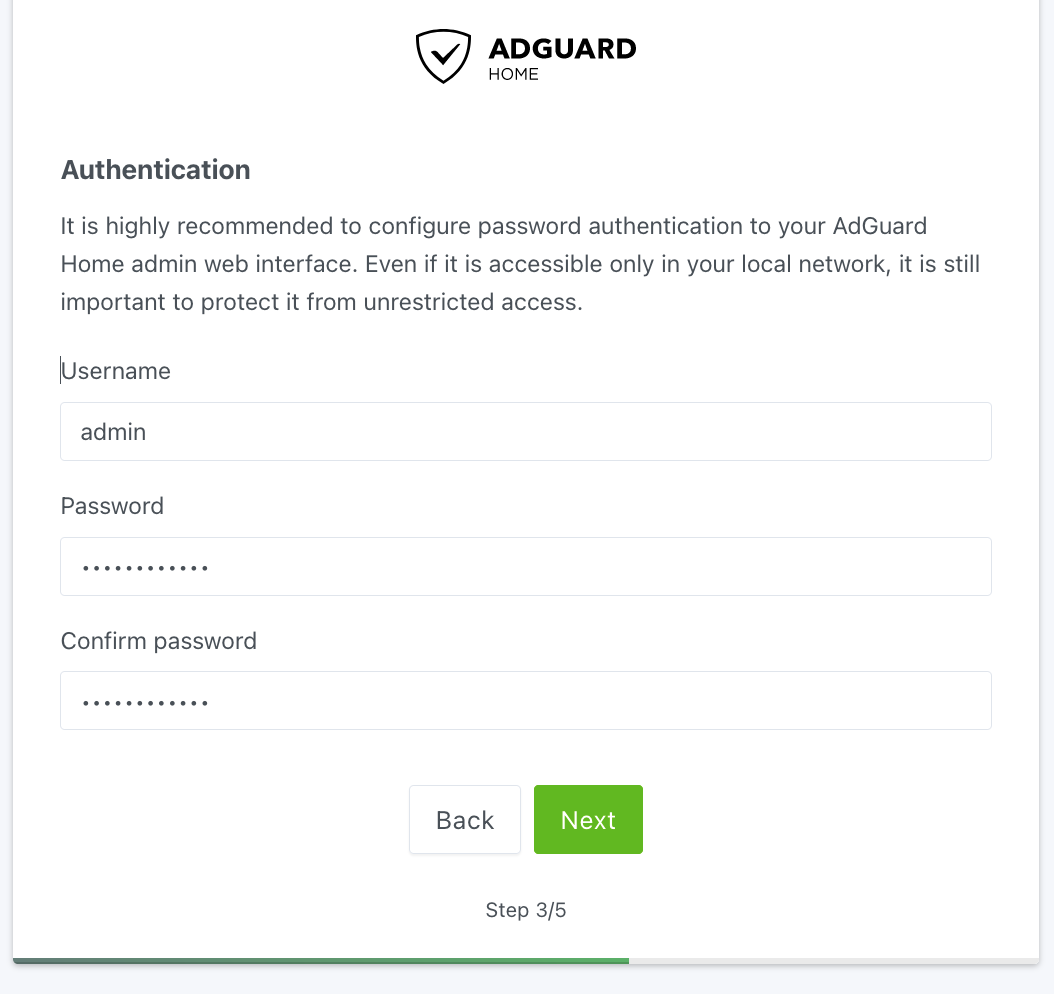
Configure an administrator user for AdGuard Home
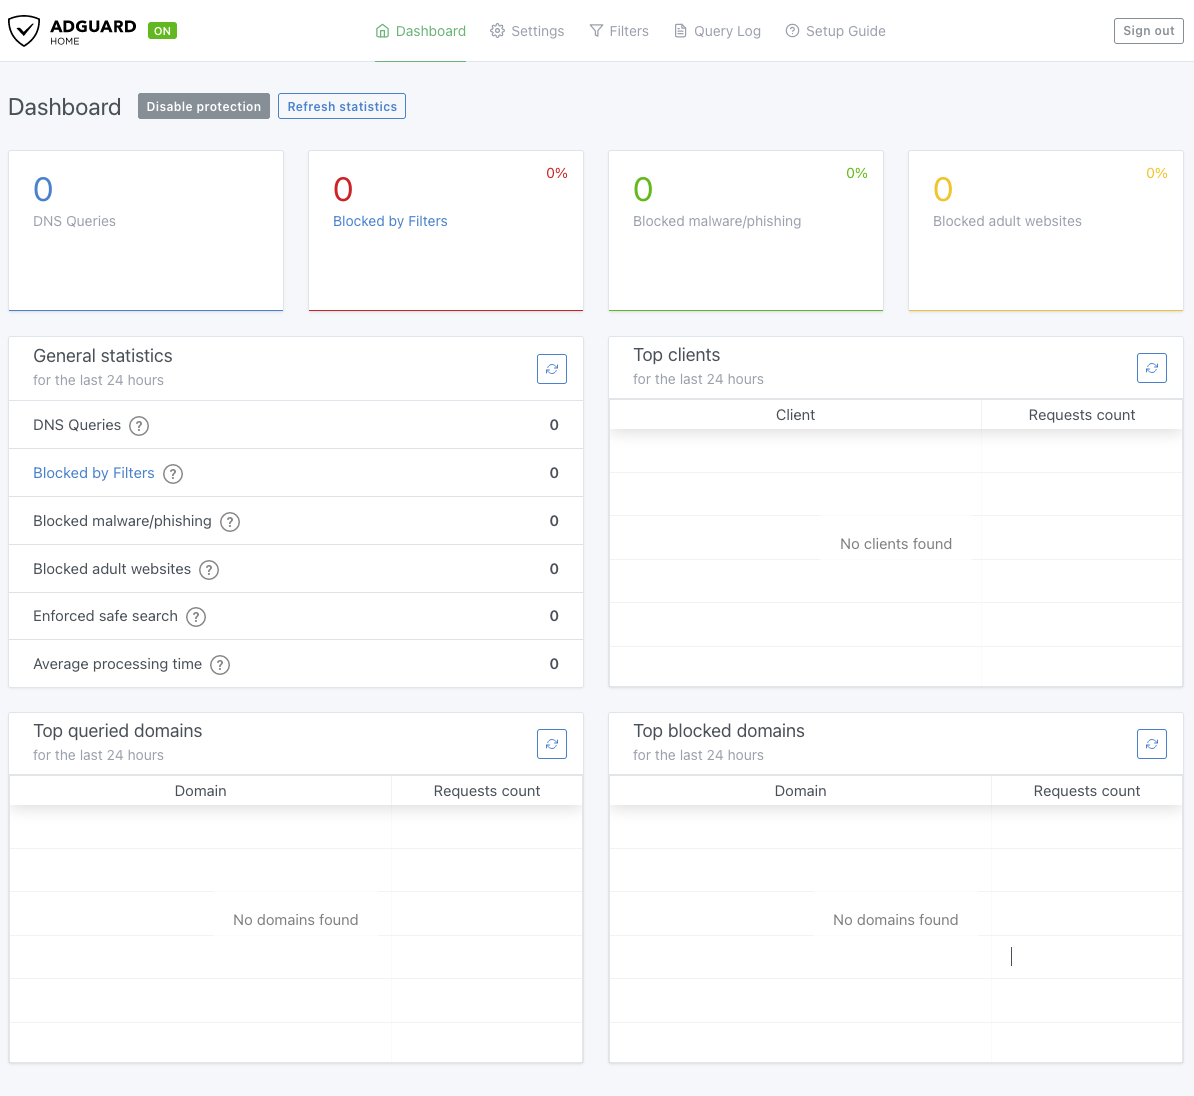
Thats it, we are greeted with the dashboard ready for any further configuration we wish to apply.
Its worth mentioning that once the initial configuration wizard has been completed you’ll no longer need to use port 3000 you’ll use the port set for the Admin Web Interface, the default value is port 80.
That brings us to the end of our deployment article, we have succesfully created an Alpine Container and setup AdGuard Home ready to protect your network.