Flash D1 Mini with Tasmota
15 Jan 2021
In this walk through I will be using Ubuntu 20.04 to flash the Wemos D1 Mini to Tasmota 9.2.0 using a USB cable.
Tasmota is designed to be controlled and communicate via MQTT. To use it to its fullest potential you need an MQTT broker.
Shopping List
- Wemos D1 Mini - ESP8266 Micro Controller
Prerequisites
Start by ensuring you have python and pip installed
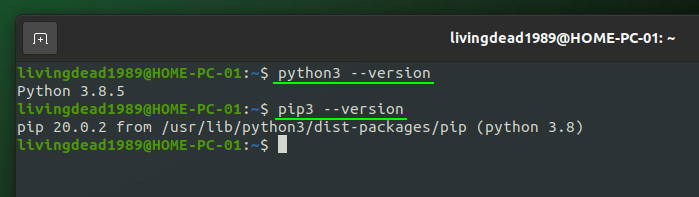
If they are not installed you can install both python 3 and pip for python 3 using the command below.
sudo apt install -y python3 python3-pip pipx
We will then install the esptool using pipx
pipx install esptool
pipx ensurepath
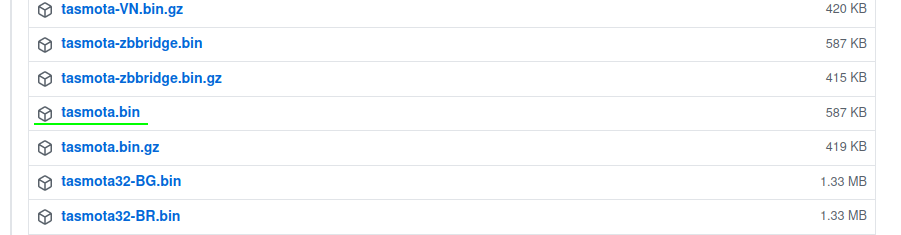
Next download the tasmota.bin (english) from the official repository on Github
Flashing the D1 Mini
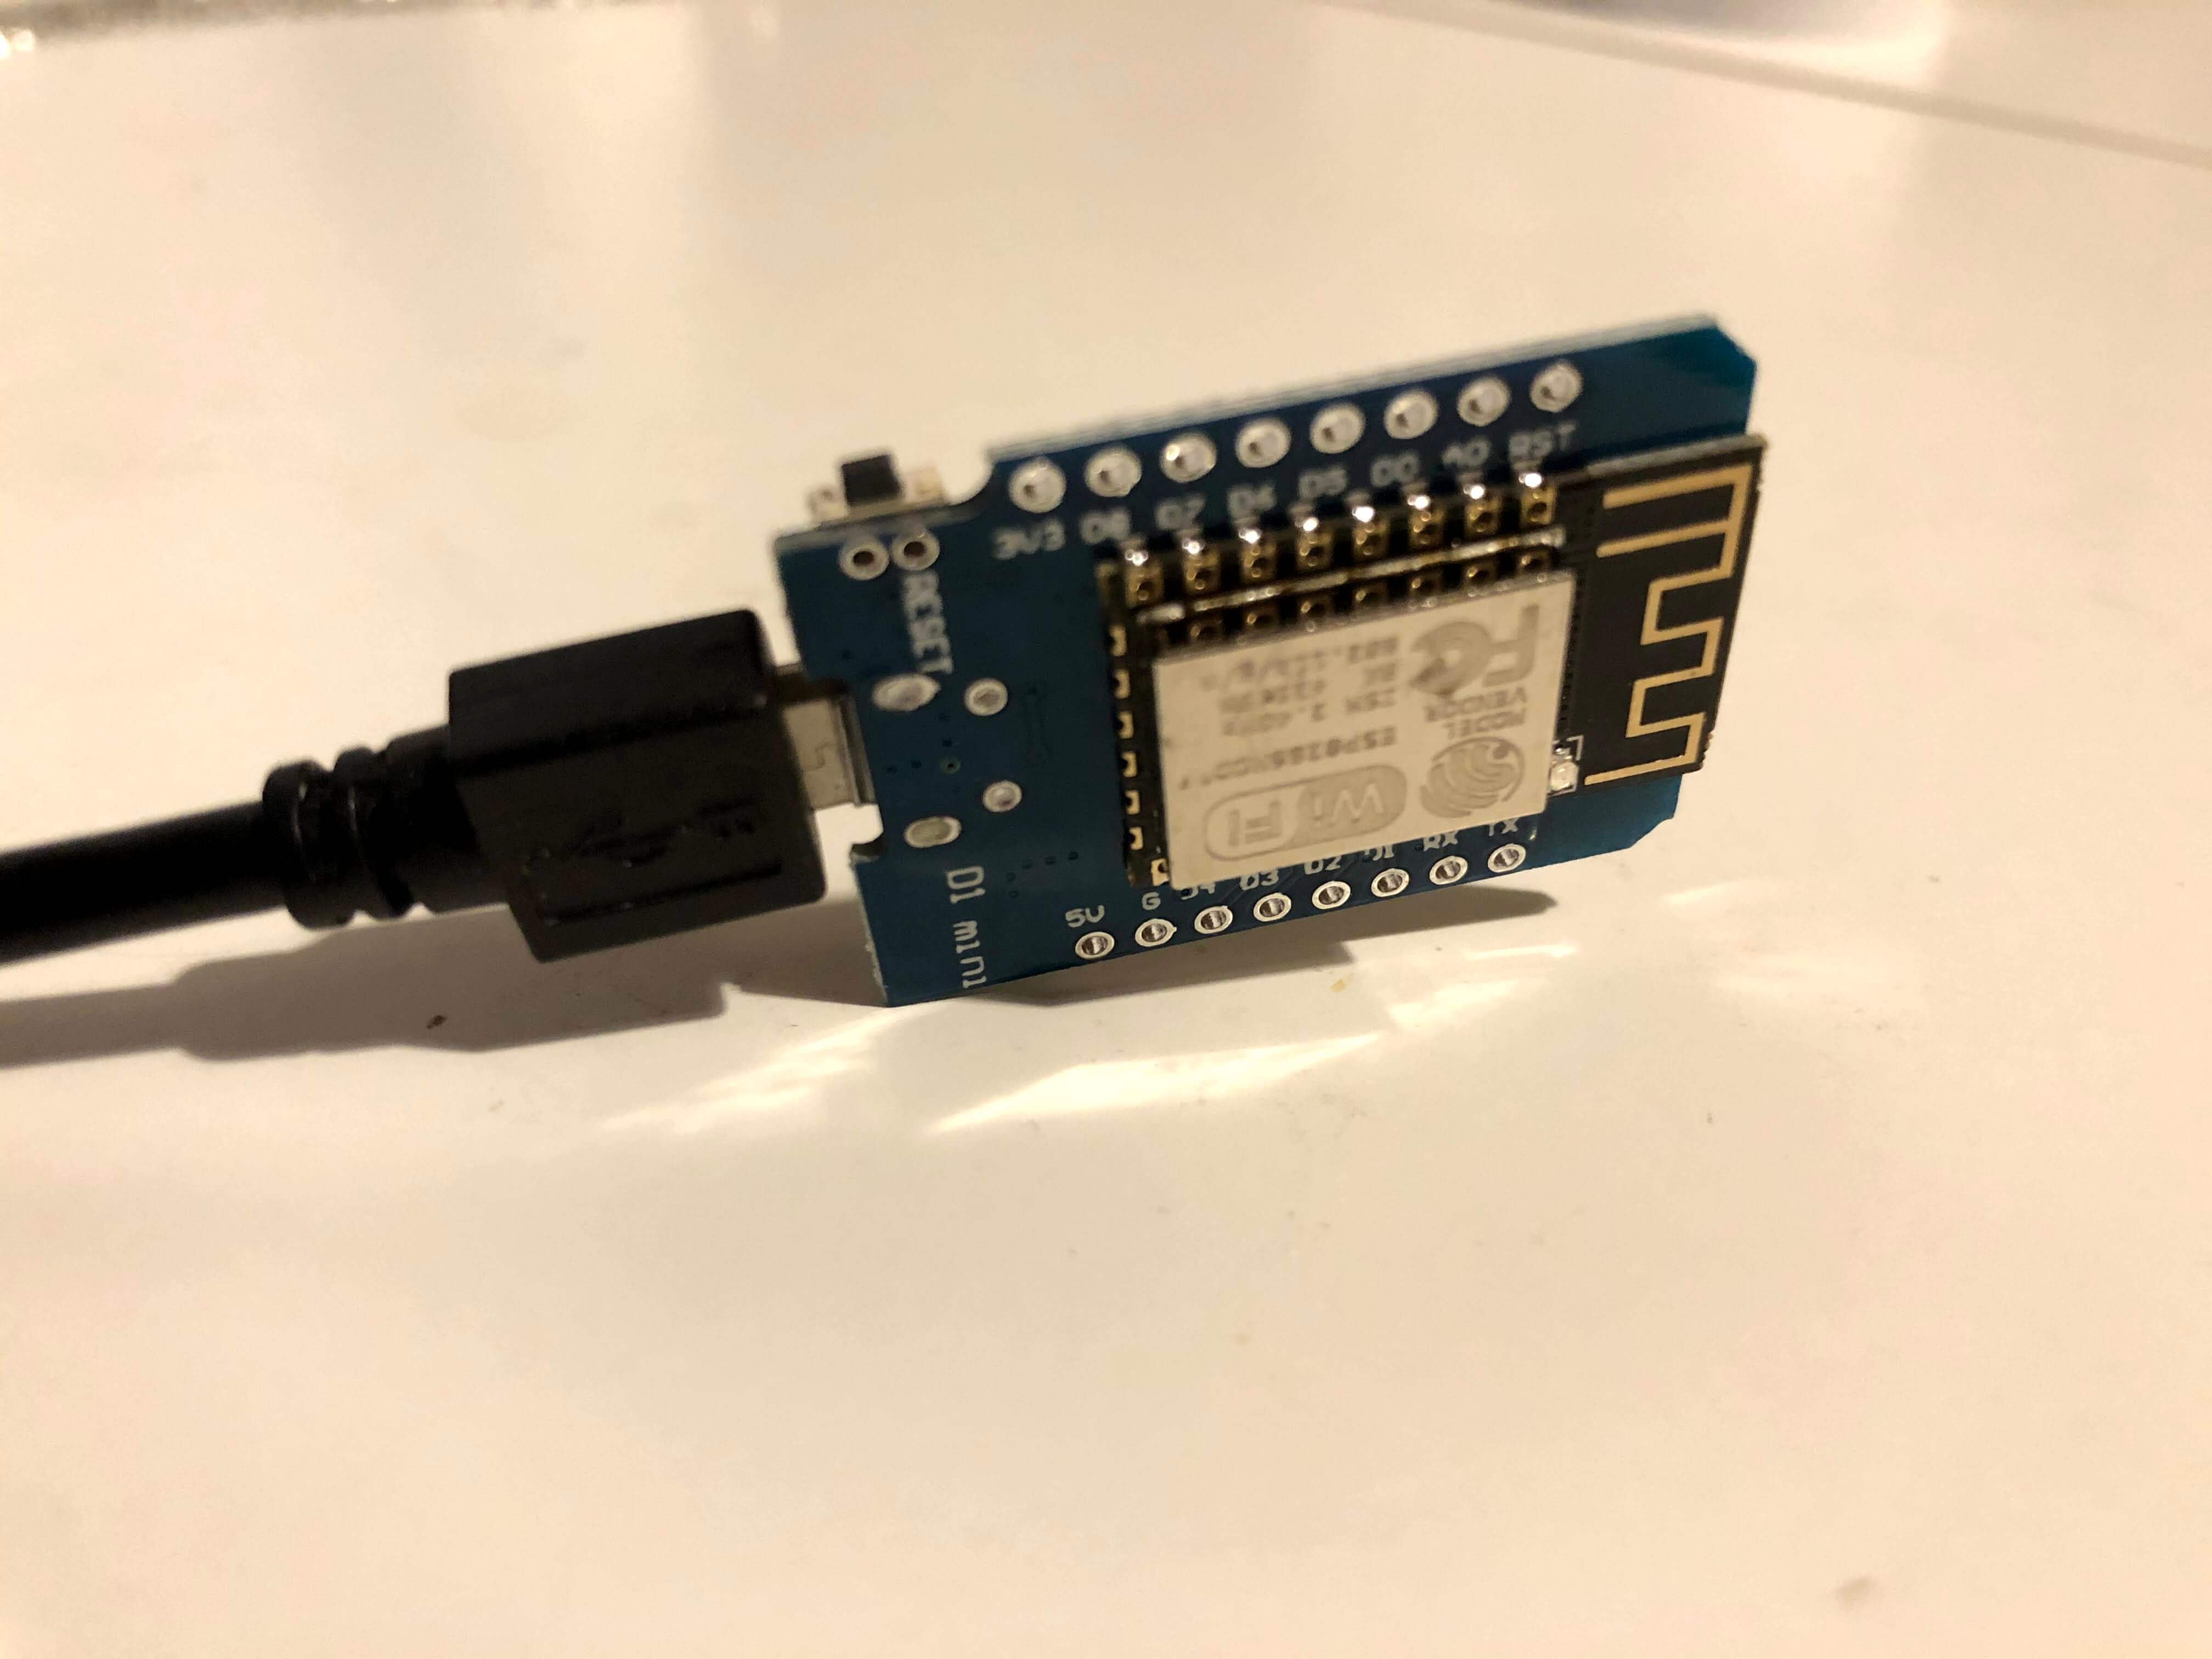
Plug your D1 mini into your computer using a micro USB cable.
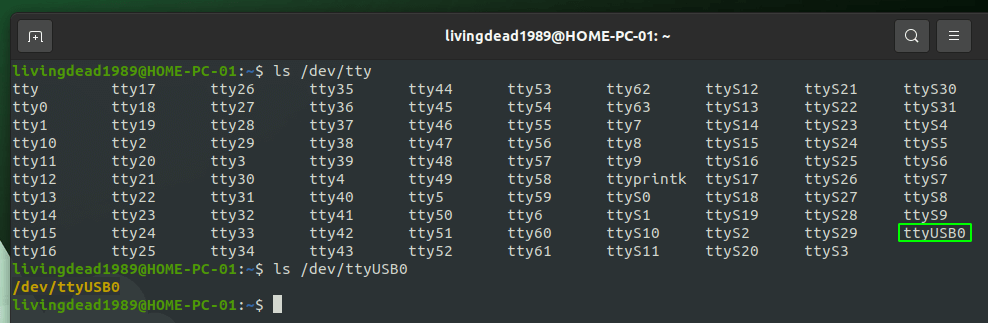
Find the device by looking for a TTYUSB device, if you are unsure unplug the D1 Mini to compare listings.
Remember its: /dev/ttyUSB0
Change directory to esptool
cd ~/.local/bin
Check the permission of esptool.py, and if you need to set execute, then either:
sudo chmod a+x esptool.py
or
sudo chmod 775 esptool.py
Without the correct permission you have an error if you try to execute the erase.
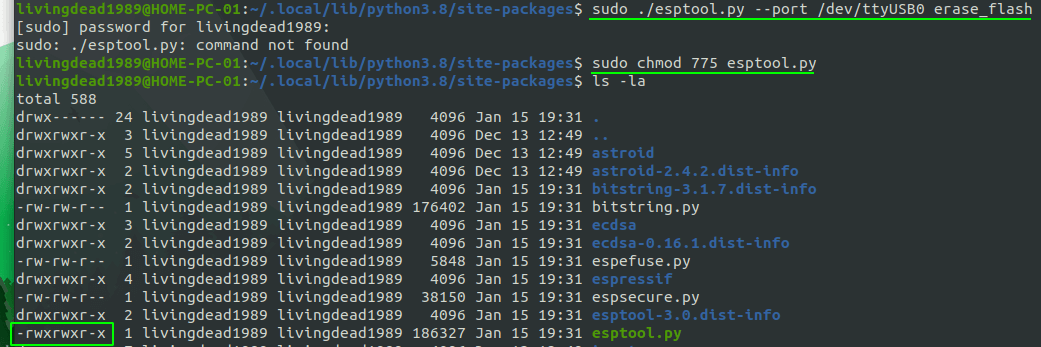
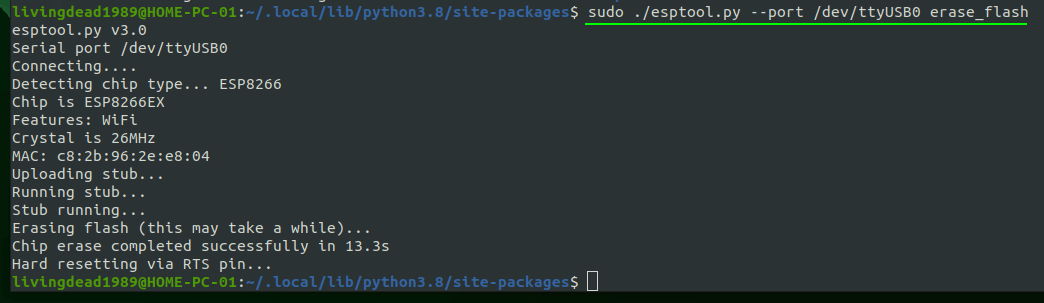
Erase existing flash on the device by using the command
sudo ./esptool.py --port /dev/ttyUSB0 erase_flash
Then flash the device with your tasmota.bin file you downloaded.
sudo ./esptool.py --port /dev/ttyUSB0 write_flash -fm dout 0x0 ~/Downloads/tasmota.bin

First Connect
If the flash was successful the device will be reset and start broadcasting its own Wi-Fi SSID, connect to the D1 wifi

Connect to the Tasmota web gui using your browser to address http://192.168.4.1/
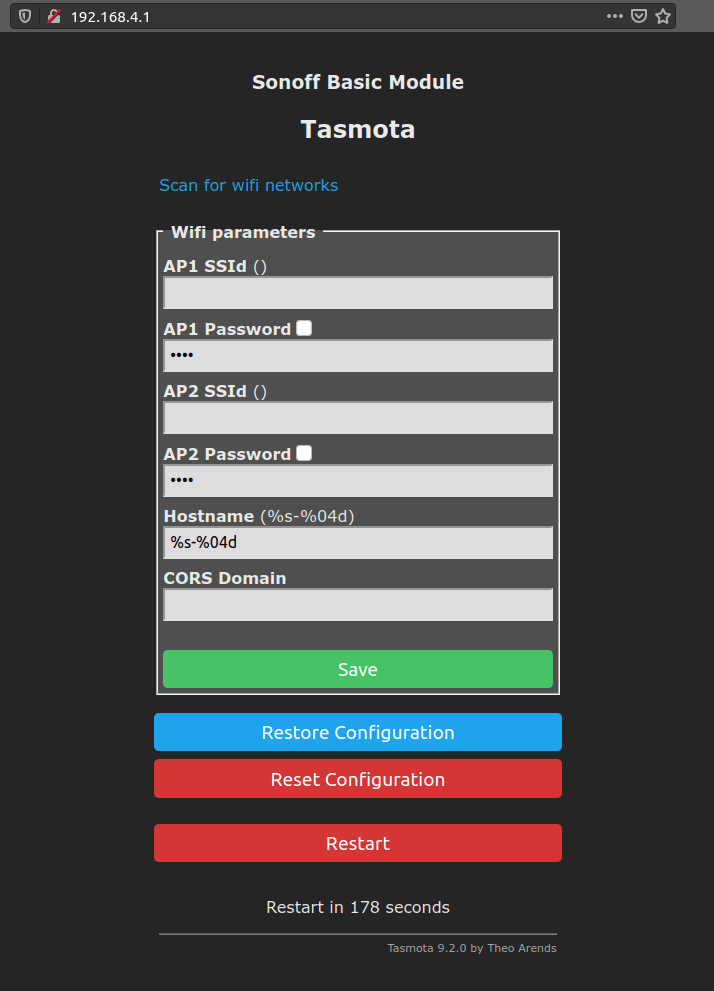
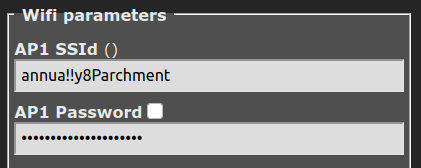
Add your Wi-Fi credentials and save the configuration. The D1 Mini will then restart, stop broadcasting its own Wi-Fi and instead connect to your existing Wi-Fi.
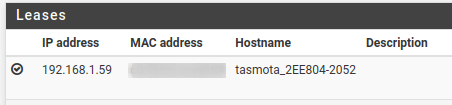
Find the assigned IP address to the D1 Mini using your DHCP server leased addresses
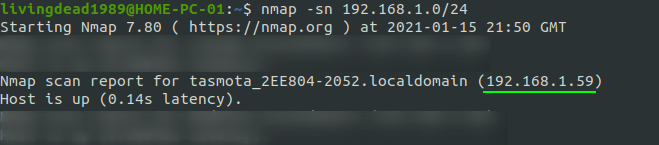
If you do not have access to your DHCP server then you can use a network mapper such as nmap to ping your network range.
nmap -sn 192.168.1.0/24
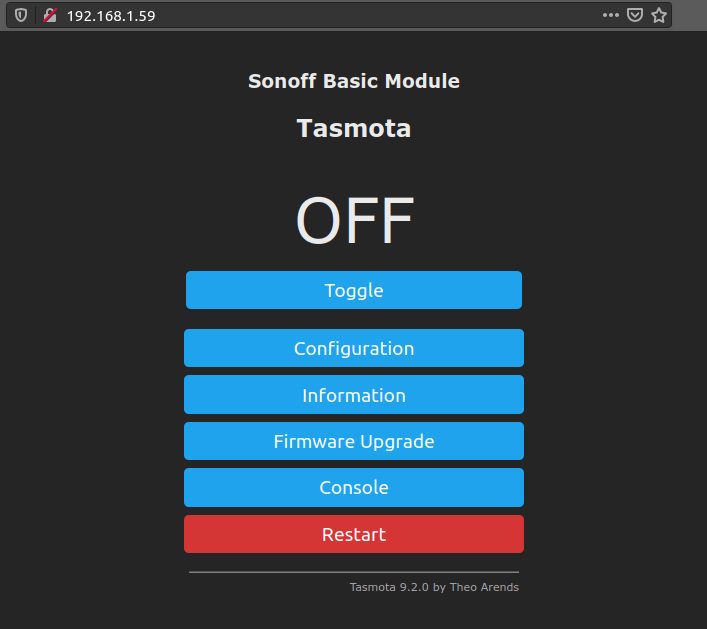
Visit the IP address in your browser, from here you can configure the device further including changing the default board type from Sonoff Basic Module to Generic 18 - Tasmota D1 Mini
WebUI does not and can not have all the features and commands implemented. For precise and complete control use Console or MQTT commands! - Tasmota WebUI
Other Flashing Tools
- Tasmotizer - NEW flashing and firmware download tool just for Tasmota. (Windows, Linux or Mac)
- Tasmota PyFlasher - flashing tool intended for Tasmota. (Windows or Mac)
- NodeMCU PyFlasher - easy to use GUI flasher based on esptool.py. (Windows or Mac)
- Esptool executable - Esptool in executable form, no Python required. (Windows, Linux or Mac)