TP-Link Software Controller
14 Jul 2021
This article follows on from my TP-Link Omada Enterprise Deployment, I will be exploring TP-Link’s free software (SDN) controller solution and comparing against the OC300 hardware controller.
In this article I will be using my Proxmox lab to host the Virtual Machine. TP-Link software controller is supported for both Linux and Windows machines, in this demonstration I will be using Debian 10 for the guest operating system.
Omada SDN Controller User Guide v4.2.4 provides guidance on installation and hardware requirements.
Create a Virtual Machine
You can download the latest image from Debian’s website I am using Debian 10.10.0.
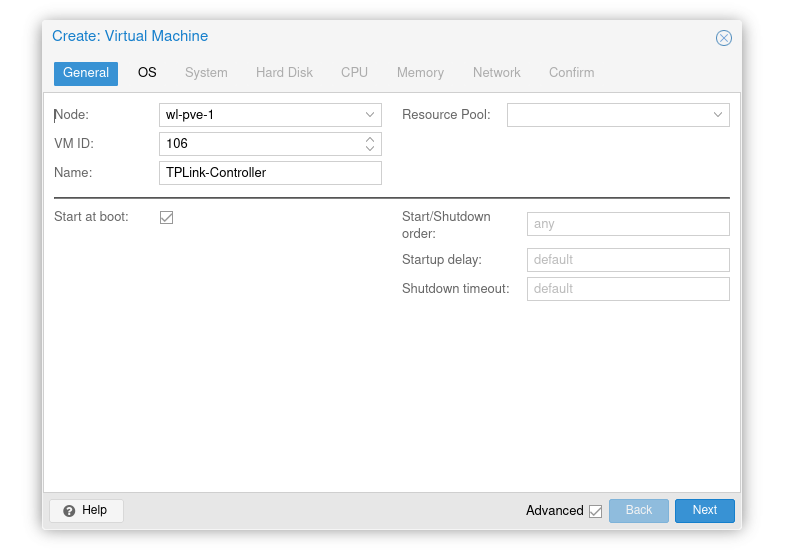
I have called my VM TPLink-Controller and checked the Start at boot option.
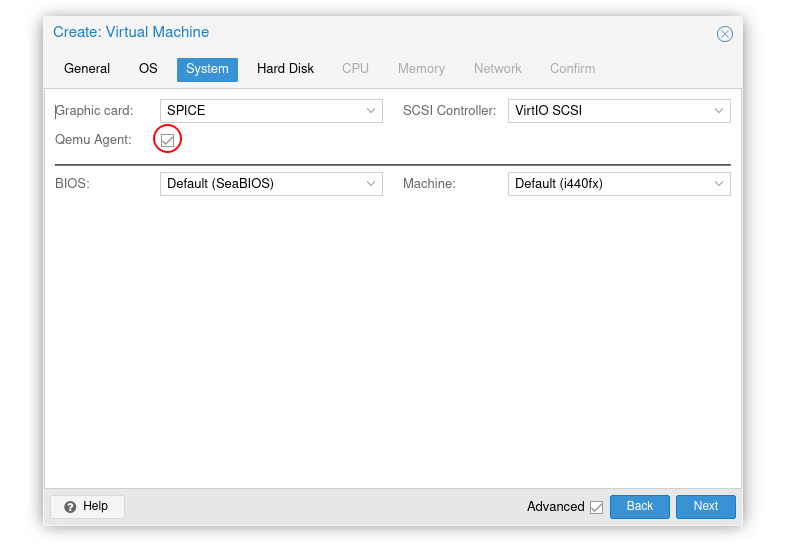
I have configured a graphic card of SPICE, this has a slight resource saving compared to the default. I have also enabled Qemu Agent, which we will installed post Debian install.
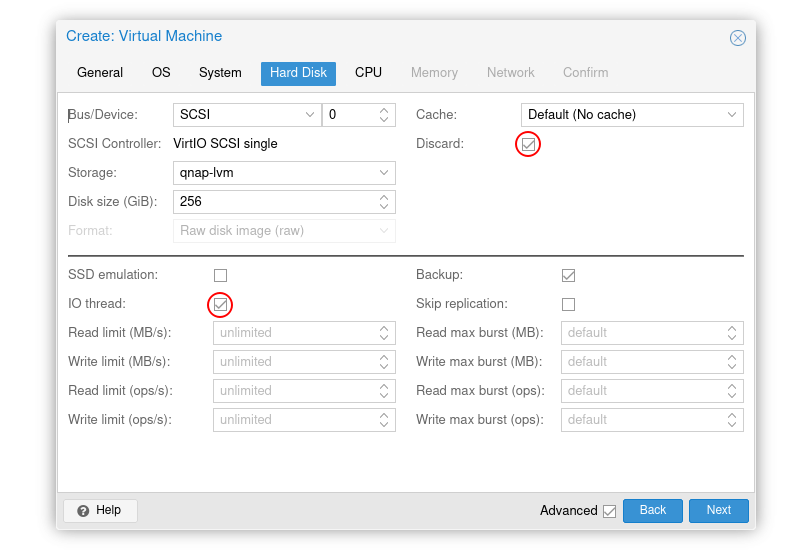
In the Hard Disk tab I have set a disk size of 256 GB as I will be experimenting with the TP-Link logging capabilities, the completed VM only took 11 GB of disk space, including desktop environment.
I have also enabled the Discard and IO thread options.
- Discard passes the discard/trim requests to the storage, this allows for disk space to be reclaimed.
- IO thread can provide a disk performance gain by providing a Qemu thread per disk.
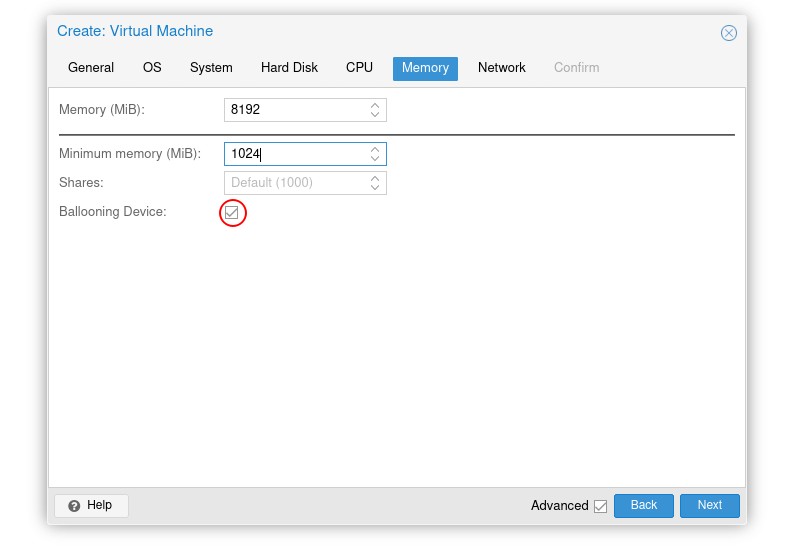
I have provided this VM with 2 logical cores, which should provide enough given our requirements but we can alter this later if we require. I have also enabled RAM Ballooning, this will dynamically allocate RAM to the VM when required, the minimum I have set to 1024 MB (1 GB) up to 8192 MB (8 GB).
I then added this VM to my LAN bridge and continued with default values for the rest of the wizard.
Install Debian
I’ll skip through the Debian OS installation as I do not want to bog this article down with a Linux OS installation, instead I’ll just mention anything I have altered from default.
- I’ve matched the host name with the VM name of TPLink-Controller just to be consistent.
- I skipped providing a root password in this demonstration, instead I’ll be using an administrative account with sudo permissions.
- When partitioning disks I opted for a Guided - use entire disk and set up LVM, this means we can alter the disk later using LVM commands.
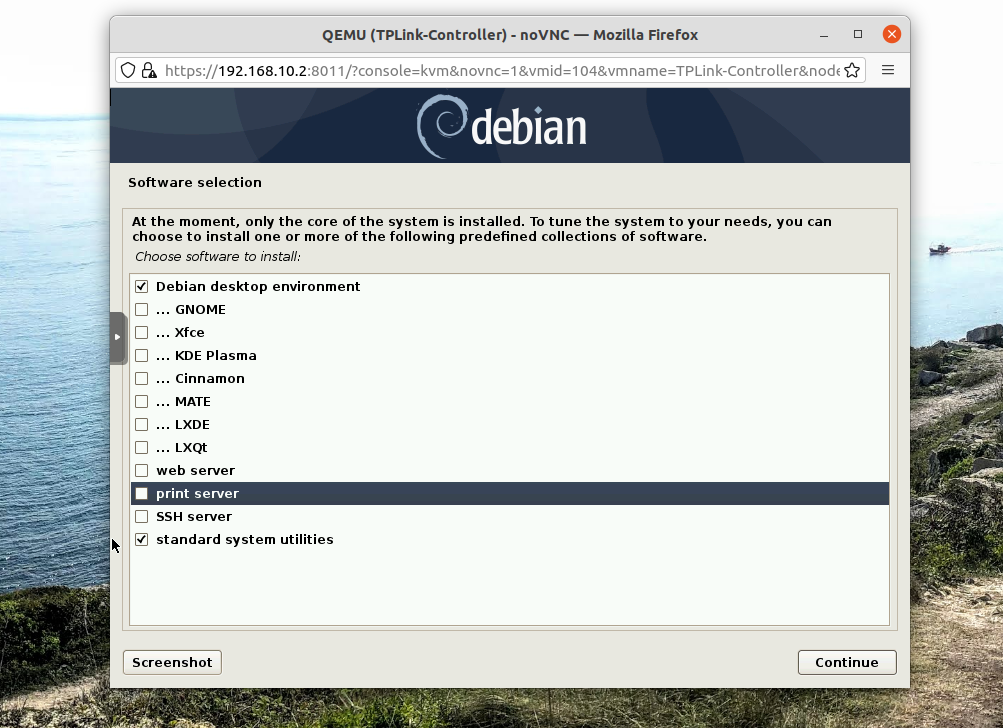
- I have chosen to install the Debian desktop environment, this is completely optional you can remove this to save resource and reduce footprint. I have also unchecked print server as we do not require it. EDIT: I should have also unchecked standard system utilities
With Debian installed the VM will reboot into our desktop environment login screen or the CLI depending on what you have installed.
First and always perform an update and upgrade to ensure the system is up-to-date.
sudo apt update && sudo apt upgrade -y
We will also want to install the qemu agent
sudo apt install -y qemu-guest-agent
Ensure the necessary packages are present
sudo apt-get install -y wget apt-transport-https gnupg
Install MongaDB
Dependencies of the TP-Link Omada Software Controller software include:
- mongadb-server (>= 3.0.0) but (< 1:4.0.0)
- mongadb-10gen (>= 3.0.0) but (< 4.0.0)
- mongadb-org-server (>= 3.0.0) but (< 4.0.0)
We can follow this tutorial to install MongaDB Community Edition on Debian to install MongoDB version 3.6 for Debain 9, which will still work.
-
Import the public key used by the package management system
wget -qO - https://www.mongodb.org/static/pgp/server-3.6.asc | sudo apt-key add - -
Create a list file for MongoDB
echo "deb http://repo.mongodb.org/apt/debian stretch/mongodb-org/3.6 main" | sudo tee /etc/apt/sources.list.d/mongodb-org-3.6.list -
Reload local package database
sudo apt update -
Install the MongoDB packages
sudo apt-get install -y mongodb-org -
Start MongoDB and Enable on boot
sudo systemctl start mongod
sudo systemctl enable mongod
Install Java 8
OpenJDK 8 is no longer available on Debian so we must add the Adopt OpenJDK repository to make this available to us. I have included a link to their documentation about installing for Linux RPM and DEB installer packages.
Download the AdoptOpenJDK GPG key
wget -qO - https://adoptopenjdk.jfrog.io/adoptopenjdk/api/gpg/key/public | sudo apt-key add -
Create a list file
echo "deb https://adoptopenjdk.jfrog.io/adoptopenjdk/deb buster main" | sudo tee /etc/apt/sources.list.d/adoptopenjdk.list
Refresh the package indexes
sudo apt update
Install OpenJDK-8
sudo apt install -y adoptopenjdk-8-hotspot
Install Software Controller
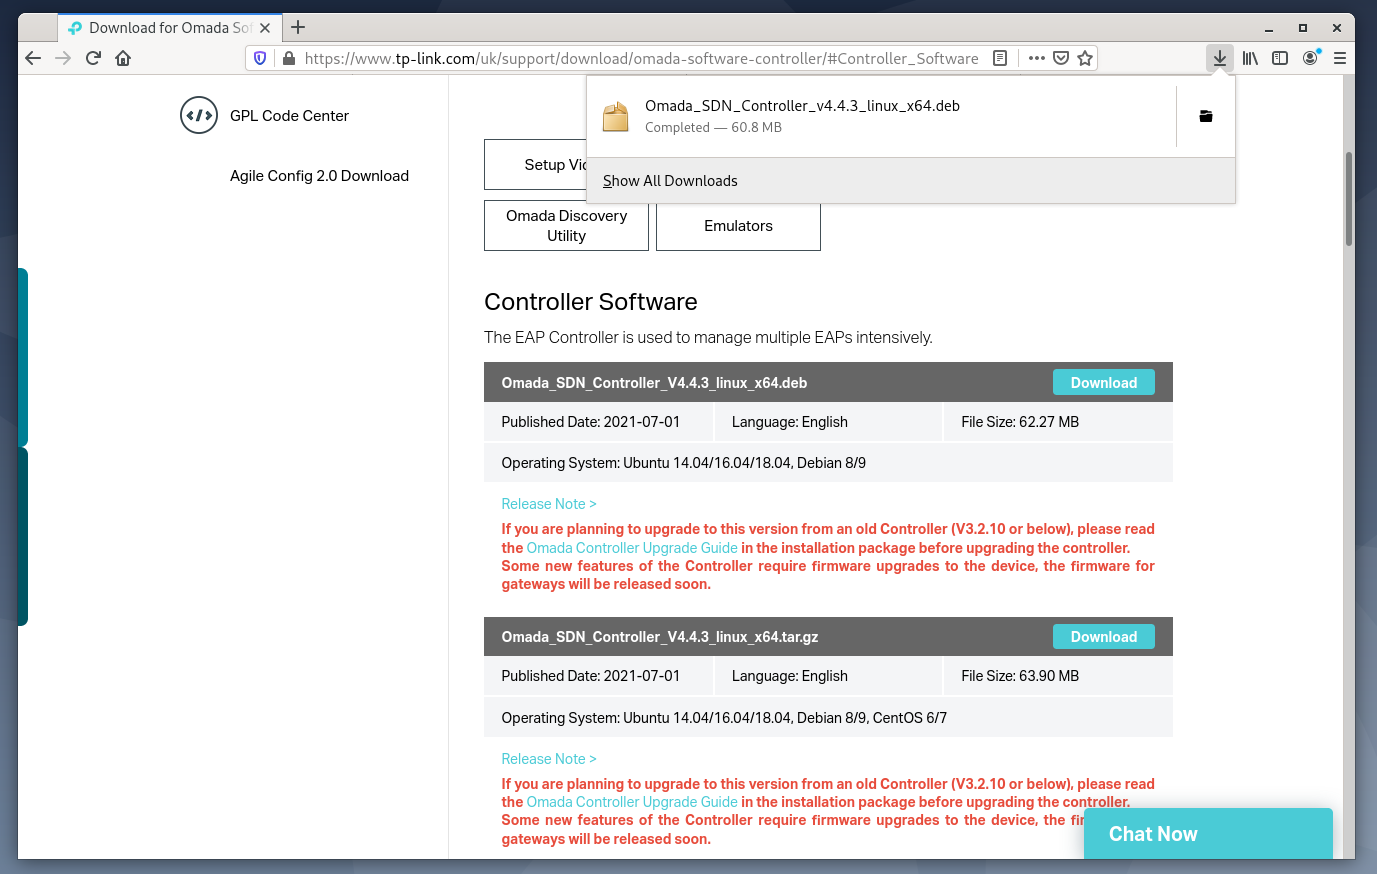
TP-Link’s software controller can be downloaded from their website. You’ll need to use the Controller Software tab to find the download links.
You can use the wget command to download using terminal if you like:
wget https://static.tp-link.com/software/2021/202107/20210701/Omada_SDN_Controller_v4.4.3_linux_x64.deb
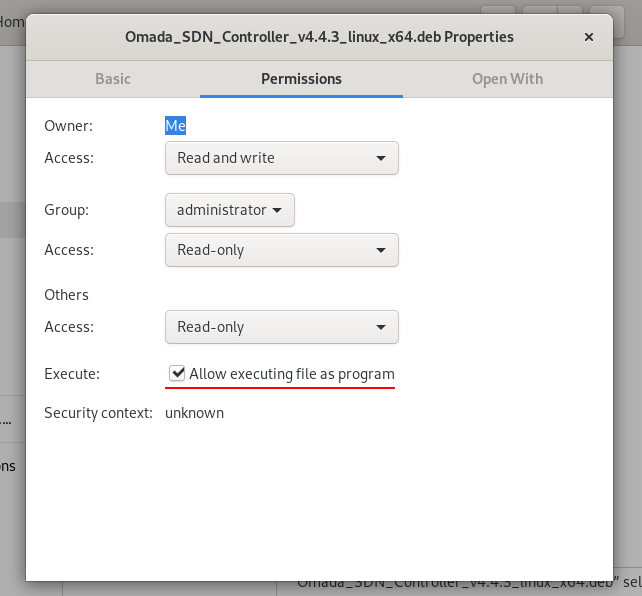
We just need to install the .deb file, we can do with in terminal by first added an execute permission to our downloaded file.
sudo chmod +x Omada_SDN_Controller_v4.4.3_linux_x64.deb
To do this in the GUI we can right click the .deb file, select Properties and Permissions then check the Execute box.
We can now install the .deb package using the following terminal command, or use our software installer GUI.
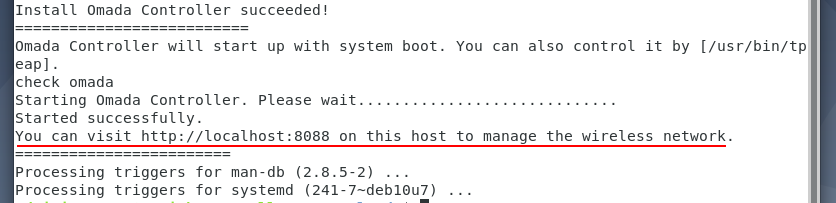
sudo apt install -yf ./Omada_SDN_Controller_v4.4.3_linux_x64.deb
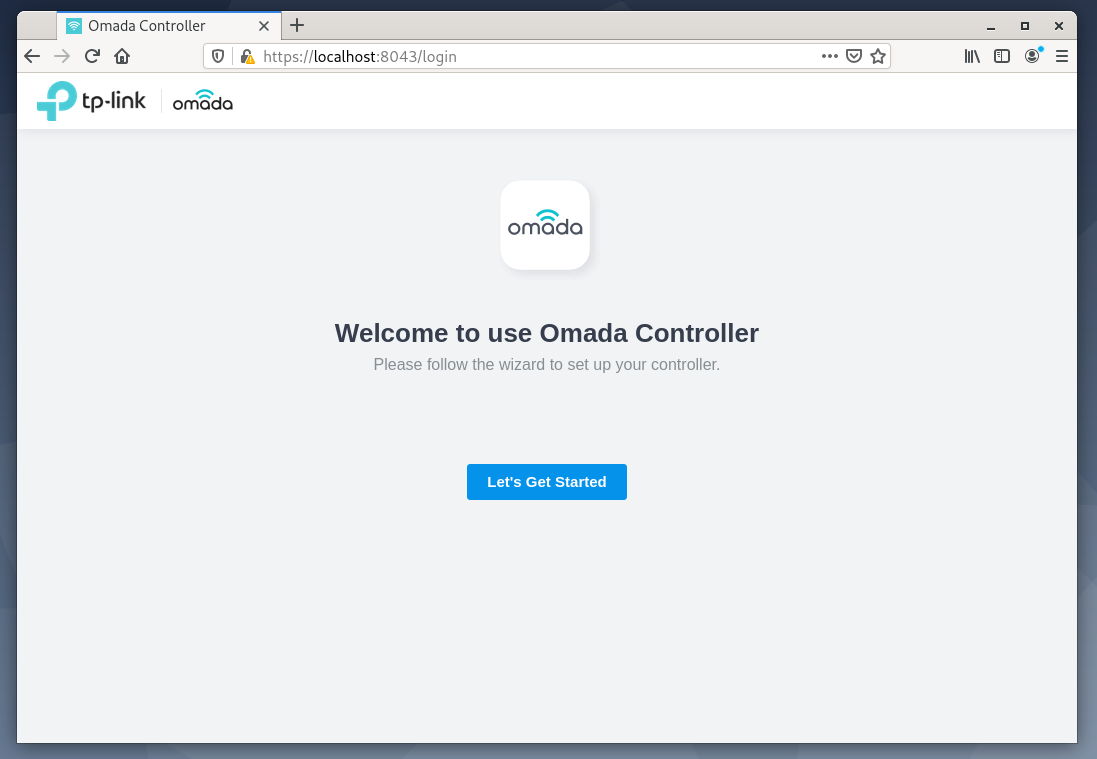
Everything should go smoothly and once finished you should see a Success message and visit http://localhost:8088 to manage wireless network message.
We can open Firefox on our server and test everything looks okay by navigating to http://localhost:8088/, we should automatically be redirected to https://serverip:8043/ with a self-signed certificate.
Note: The Omada Controller software will listen on all available addresses, not just the localhost.
Comparison
| Hardware Controller (OC300) | Software Controller |
|---|---|
| No High Availability | High Availability through virtualisation or containerisation |
| Up-to 500 devices and 15,000 clients | Up-to 1,500 devices depending on system hardware |
| Limited storage | Expandable storage |
| Upfront hardware cost | Free |
| Easy to install | More complex to install depending on implementation |
| Controller updates | Controller updates and OS maintenance |
Both the hardware and software controllers have the same web panel for administration and offer the same functionality. Some other considerations include Backup.
| Hardware Controller (OC300) Backup | Software Controller Backup |
|---|---|
Path: /opt/tplink/EAPController/data/autobackup |
Path: /opt/tplink/EAPController/data/autobackup |
| USB Device |
Although the hardware controller can back up to a USB device, nether provide us with a suitable backup best practice. Although using the software controller, we can use something else to manipulate our auto-backups, such as RSync or backing up the Virtual Machine.
If the controller either hardware or software goes off-line you lose fast roaming, meshing, band-steering, and data collection, but the devices and clients continue to function with their existing configuration. Although this isn’t the end of the world it does mean we would want to mitigate against any failure, using a software controller in some clustered environment removes that hardware failure chance, as small as it might be.
In summary, the hardware controller is excellent as an easy approach with very minimal cost, but there are some key elements that the software controller shines through on and for that it’s worth the extra investment of time and complexity.